Connect Calendly To Your Wordpress Site
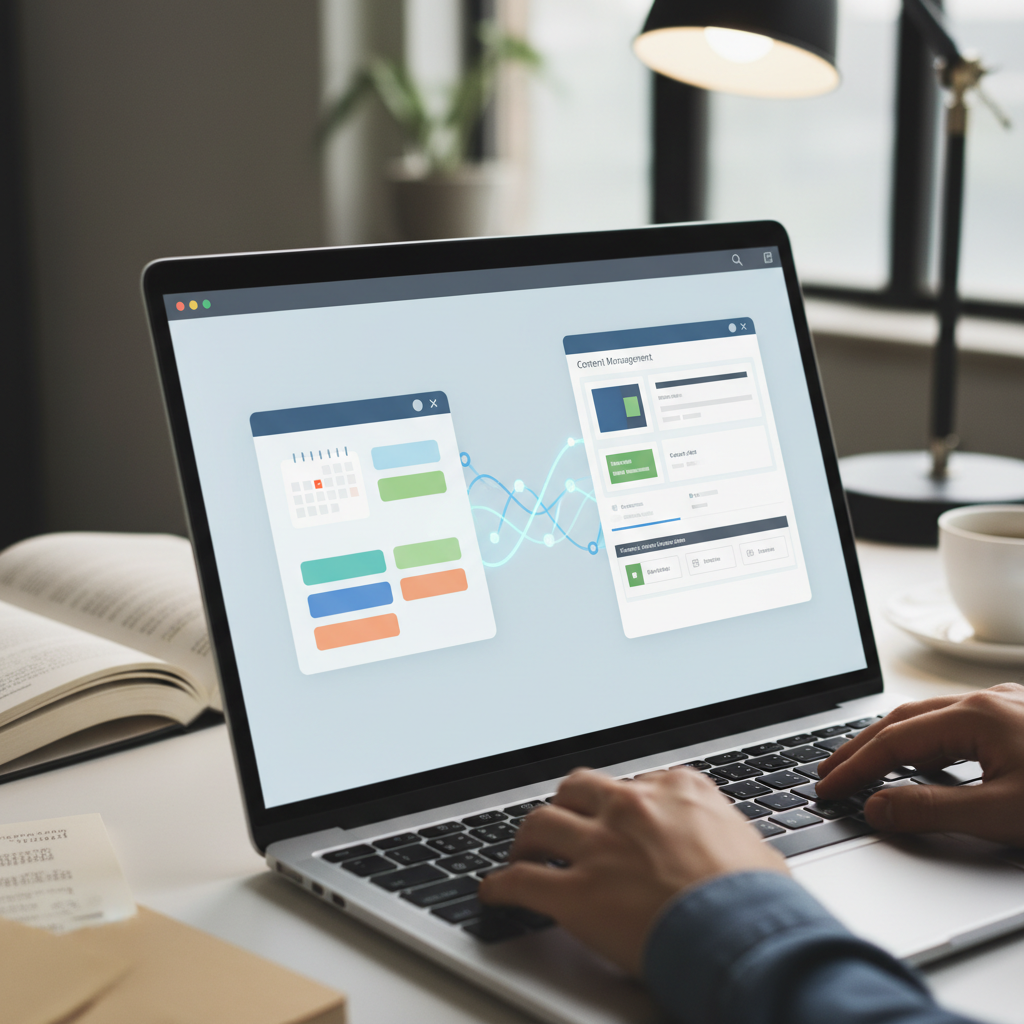
A visitor lands on your website, likes what you offer, and decides to book a call. That should be the easy part. But if the next step is sending an email and waiting for you to suggest a few available times, a simple appointment can turn into a lengthy exchange.
Calendly removes much of that back-and-forth. You set your availability, connect your calendar, and share a booking page. Visitors choose an available time, and Calendly handles the scheduling workflow. Adding that booking page to WordPress lets people arrange an appointment while staying on your site.
This guide follows the WordPress and Calendly workflow available in 2019; tools, plan features, and interface labels may have changed since then.
Below, we’ll set up a dedicated booking page, add an inline Calendly embed, and test the complete experience. We’ll also cover pop-up options, WordPress restrictions, and the problems most likely to interrupt your setup.
What You Need Before You Start
For the standard embed approach, you’ll need:
- A Calendly account with at least one configured event type.
- A WordPress site and permission to edit the page where appointments will appear.
- Permission to save JavaScript in your site’s page content.
- A connected calendar if you want Calendly to check existing appointments for conflicts.
That third requirement matters. Calendly’s embed uses an external script, and not every WordPress setup allows you to paste and save scripts.
Self-hosted WordPress versus WordPress.com
On a self-hosted WordPress installation, an administrator can generally add the embed using a Custom HTML block. Security plugins, hosting rules, and WordPress Multisite permissions can still restrict scripts.
WordPress.com has additional restrictions. As of 2019, arbitrary JavaScript embeds are not supported on every plan. Check whether your plan and configuration permit third-party scripts before troubleshooting the embed itself.
If your site removes the script or cannot run it, a normal link to your Calendly booking page is a reliable alternative. You don’t need a plugin simply to send visitors to Calendly.
1. Prepare Your Calendly Event
Before adding anything to WordPress, make sure the booking page offers the right appointment. An embed won’t correct an event with the wrong duration, availability, or meeting instructions.
In Calendly, create or open the event type you want visitors to book. A focused event such as a consultation or introductory call is usually clearer than a general page containing several unrelated choices.
Review these settings:
- Event name and duration: Make the commitment clear before someone books.
- Availability: Offer only the days and hours you actually want to accept appointments.
- Time zone: Confirm your account’s time zone and check how availability appears to invitees.
- Location: Explain whether the meeting is by phone, online, or in person.
- Scheduling notice: Avoid accepting appointments without enough time to prepare.
- Buffer time: Leave breathing room between meetings where your settings allow it.
- Invitee questions: Ask for information you need, not everything you might find useful.
Connect your calendar and verify which calendars Calendly checks for conflicts. Also confirm where new appointments will be added. These are related but distinct settings: checking a calendar for busy periods is not necessarily the same as selecting it as the destination for bookings.
Finally, open the public event link yourself. Confirm that the description, available times, and location instructions make sense without any additional explanation from you.
2. Choose How Calendly Should Appear
Calendly offers several website integration styles. Choose based on how prominent scheduling should be on your site.
Inline embed
An inline embed places the scheduler directly inside a page. Visitors can select a date and time without opening a separate booking tab.
This is a good fit for a dedicated “Book a Call” or “Schedule an Appointment” page, and it’s the method we’ll implement below.
Pop-up text
A pop-up text integration opens the scheduler when someone clicks a link. It works well when you want a compact scheduling call to action inside a service description or contact section.
Use Calendly’s generated code for this option. A regular link to an event URL does not automatically open the pop-up interface.
Pop-up widget
A pop-up widget adds a floating scheduling button. It can make booking accessible across several pages, but consider whether it competes with a chat button, cookie notice, or other floating controls.
For either pop-up option, use a supported site-wide code area if the integration should appear throughout your website. Avoid pasting the same initialization code into multiple template areas.
Standard booking link
A normal link is the simplest option and requires no Calendly script. It takes visitors to Calendly rather than keeping the scheduling interface inside WordPress.
It’s also worth including as a fallback beneath an inline embed.
3. Copy the Calendly Embed Code
From your Calendly event types screen, locate the event you want to share. Open its sharing or settings controls and look for the website embedding option. Depending on the interface, labels may include “Share,” “Share & Embed,” or “Add to Website.”
Select the inline embed option, then copy the generated code. Choosing a specific event’s embed usually gives visitors a more direct route than embedding your general scheduling page.
A typical inline embed looks like this:
<!-- Calendly inline widget begin -->
<div
  class="calendly-inline-widget"
  data-url="https://calendly.com/your-account/intro-call"
  style="min-width:320px;height:700px;">
</div>
<script
  type="text/javascript"
  src="https://assets.calendly.com/assets/external/widget.js"
  async>
</script>
<!-- Calendly inline widget end -->
Replace the sample URL with your actual Calendly event URL if you use this example. Prefer the code generated by your Calendly account, since it reflects the integration options available to you.
The div provides the space for the scheduler, while the script loads Calendly’s widget. Pasting only the empty container generally won’t produce a working booking interface.
4. Add the Embed to a WordPress Page
Create a dedicated page so you can link to it from your navigation, service pages, and contact page.
- Sign in to the WordPress dashboard.
- Go to Pages → Add New, or open an existing page.
- Give the page a clear name, such as “Book a Consultation.”
- Add a short introduction explaining the appointment.
- Insert a Custom HTML block.
- Paste the complete Calendly embed code into that block.
- Save the page as a draft and open its front-end preview.
Use a Custom HTML block rather than a Paragraph or Code block. A Code block is designed to display code to readers, not execute the embed.
If you use the Classic Editor
Switch to the Text tab and paste the embed where you want it to appear. Save and preview the page. Switching between Visual and Text modes can alter some markup, so check the saved code if the widget stops working.
If you use a page builder
Choose the builder’s HTML or custom-code element, rather than a text element that escapes scripts. Some builders don’t execute third-party widgets inside their editing canvas, so judge the result on the front-end preview.
If WordPress removes the script when you save, repeatedly pasting it won’t fix the underlying permission or security restriction. Ask your site administrator about an approved integration method, or use a booking link.
5. Make the Booking Page Useful
The scheduler handles available times, but the surrounding page should answer the visitor’s basic questions.
Explain who the appointment is for, how long it lasts, what you’ll discuss, and whether there is anything to prepare. If it’s a paid appointment, make the price and payment arrangements clear before the visitor commits.
Keep this introduction short enough that the calendar isn’t buried below several screens of promotional copy.
Adjust the layout carefully
A wide content area usually works better than a narrow column beside a busy sidebar. If your theme provides a full-width page template, preview it as an option.
The example embed reserves 700 pixels of height. That’s a starting point, not a guarantee that every booking step will fit without scrolling. Adjust the height after testing the date picker and booking form.
On phones, check for horizontal overflow. The widget’s minimum width, combined with your theme’s page padding, can cause problems on narrow screens. Reduce unnecessary surrounding padding or choose a less restrictive layout.
Your theme’s CSS can style the surrounding page, but it generally cannot reach into Calendly’s embedded interface. Use Calendly’s available customization settings for the scheduler itself.
Include a fallback link
Place a simple link beneath the widget:
<p>
  Having trouble loading the calendar?
  <a href="https://calendly.com/your-account/intro-call">
    Open the booking page on Calendly
  </a>.
</p>
This helps visitors whose browser extensions, network settings, or privacy preferences prevent the embedded scheduler from loading.
6. Test the Entire Booking Process
Don’t stop at confirming that a calendar appears. Complete a test booking before promoting the page.
- Open the WordPress page in a private browser window while logged out.
- Confirm that the event title and duration are correct.
- Check available dates against your calendar and availability settings.
- Verify the displayed time zone.
- Select a time and complete the invitee form.
- Check the confirmation screen and confirmation emails.
- Confirm that the appointment appears on the intended calendar.
- Test any cancellation or rescheduling links provided.
- Cancel the test appointment and remove any test data you don’t need.
Repeat the essential steps on a phone. Also try keyboard navigation so you can spot obvious usability barriers around the embed and its fallback link.
Remember that Calendly is a third-party service receiving booking information. Explain relevant data handling in your privacy notice, avoid requesting unnecessary sensitive information, and review any consent requirements that apply to your site.
Common Problems and Fixes
The widget area is blank
First, verify that the public Calendly URL works by itself. Then check whether the saved page still contains the script tag. Browser blockers, restrictive security policies, or a failed script request can also prevent loading.
It works in preview but not on the published page
Clear WordPress, hosting, and CDN caches where applicable. If you use JavaScript optimization, test whether script combining, deferral, or delayed execution is interfering with Calendly. Change one setting at a time rather than disabling everything permanently.
The wrong times appear
Review Calendly’s event availability, time zone, minimum notice, and connected-calendar conflict settings. This is usually a scheduling configuration issue rather than a WordPress embed issue.
The scheduler is clipped or awkward to scroll
Increase the embed height and inspect parent containers for fixed heights or overflow: hidden. Test every stage of booking; the invitee form may need more space than the initial calendar.
Publish and Put the Page to Work
Once testing is complete, publish the page and add a descriptive link wherever booking is a logical next step. “Book a 30-minute consultation” tells visitors more than “Click here.”
Avoid placing scheduling buttons everywhere without context. A clear invitation at the end of a relevant service page is often more useful than a persistent interruption.
Takeaway
Connecting Calendly to WordPress is usually a matter of configuring an event, copying its embed code, and placing it in a Custom HTML block. The important work is making the appointment clear, confirming your site supports the script, and testing a real booking from start to finish. Keep a direct booking link available, and visitors will still have a way to schedule if the embed doesn’t load.
Conversation (0)
No comments yet. Start the conversation.
Join the conversation
Create a free member account to comment.