Contact 7 Forms: Google Sheets Connector & Conditional Fields
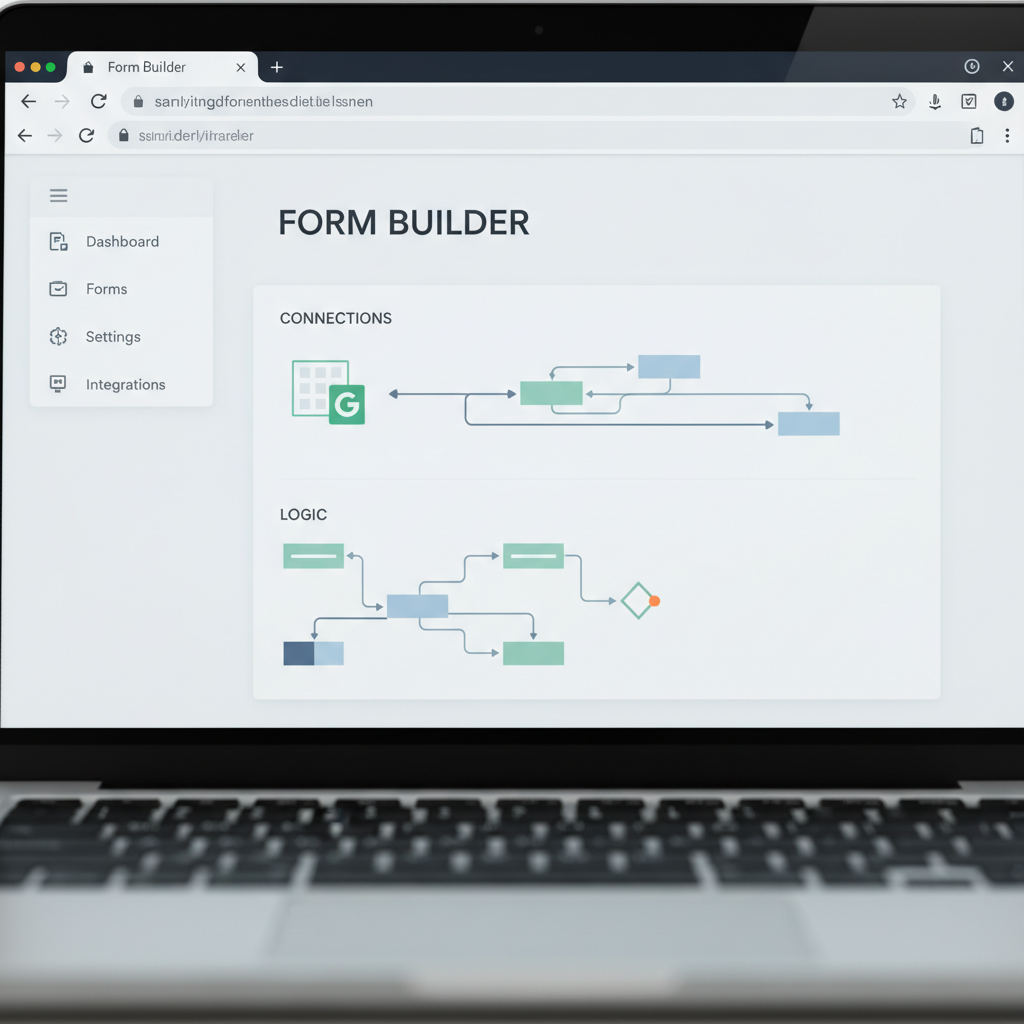
A contact form should do more than send an email. It should ask visitors relevant questions, deliver usable information, and leave your team with a reliable record to work from. A single, oversized form often does the opposite: visitors see fields that do not apply to them, while staff copy submissions out of their inboxes into a spreadsheet.
Contact Form 7 can handle the form itself, but two additions make it considerably more useful: a Google Sheets connector to record submissions and conditional fields to show questions only when they are needed.
This guide reflects a WordPress setup in 2019; plugin features, Google authorization screens, and interface labels may have changed since then.
We will build an inquiry form that asks different questions for new projects and support requests, then sends its submissions to Google Sheets. Along the way, we will cover email delivery, permissions, testing, and the limitations worth checking before launch.
What you need before you start
This setup uses three WordPress plugins:
- Contact Form 7 to build and process the form.
- Conditional Fields for Contact Form 7 to group fields and control their visibility.
- CF7 Google Sheets Connector, from GSheetConnector, to authorize access to Google Sheets and write submission data.
These are separate components. Contact Form 7 does not, by itself, provide the conditional groups or spreadsheet connection described here.
You will also need permission to install plugins, a Google account that can edit the destination spreadsheet, and access to the website's outgoing email settings.
Use a staging site if possible. Back up an existing site before adding plugins, and check each add-on's compatibility with your installed versions of WordPress and Contact Form 7. Avoid updating a production form immediately before an important campaign.
Decide what the form should collect
Our example has two inquiry types:
- New project: collect a budget range and project outline.
- Existing support: collect a website address and issue description.
Both types collect a name and email address. Those shared fields will always be visible; the remaining questions will appear conditionally.
This structure also determines the spreadsheet columns. Plan the field names first so you do not have to repair mappings after submissions begin arriving.
1. Create the base Contact Form 7 form
Install and activate Contact Form 7, then open Contact → Add New. Give the form a descriptive administrative name, such as “Website inquiry.”
After activating Conditional Fields for Contact Form 7, enter the following in the form editor:
<label>Your name
    [text* your-name autocomplete:name]
</label>

<label>Your email
    [email* your-email autocomplete:email]
</label>

<label>What can we help with?
    [select* inquiry-type include_blank "New project" "Existing support"]
</label>

[group project-fields]
<label>Approximate budget
    [select* project-budget include_blank "Under $5,000" "$5,000–$15,000" "Over $15,000"]
</label>

<label>Tell us about your project
    [textarea* project-details]
</label>
[/group]

[group support-fields]
<label>Website address
    [url* support-url]
</label>

<label>Describe the issue
    [textarea* support-details]
</label>
[/group]

[submit "Send inquiry"]
The asterisk makes a field required. Names such as your-email and project-budget are identifiers, not just labels: you will use them again in email templates and spreadsheet headers.
The [group] tags belong to the conditional-fields add-on, not core Contact Form 7. Without that add-on, this form will not behave as intended.
Keep labels visible
Use real labels rather than relying on placeholder text. Placeholders disappear as someone types, and they are not a substitute for accessible field labels.
Keep choices short and distinct. The values “New project” and “Existing support” will also be used in conditional rules, so changing their wording later means checking those rules again.
2. Configure the conditional rules
Save the form, then open its Conditional fields tab. Add these two rules using the add-on's controls:
- Show
project-fieldsifinquiry-typeequalsNew project. - Show
support-fieldsifinquiry-typeequalsExisting support.
Save again. Before a visitor selects an inquiry type, neither group should be visible. Selecting an option should reveal only the matching group.
Test required fields in hidden groups
The conditional-fields add-on is designed to let required fields inside hidden groups remain unfilled without blocking submission. This is an important distinction from merely hiding fields with CSS, which does not change validation behavior.
Nevertheless, verify it in your installed plugin versions. Choose “New project,” complete that branch, and submit without filling any support fields. Then repeat with “Existing support.”
If hidden fields trigger errors, check that they are actually inside the correct group tags and that the conditional add-on is active. JavaScript conflicts and incompatible plugin versions can also interfere.
Decide what happens when visitors change their minds
A visitor may fill in project details and then switch to support. Do not assume hiding a group erases its existing values.
Check your add-on version for its documented clear-on-hide behavior or option. If you enable clearing, remember that switching back may discard the visitor's work. Either way, inspect the submitted data during testing and use inquiry-type as the authoritative indicator of which branch matters.
Conditional visibility is a convenience, not a security boundary. Never use a hidden group to protect confidential information or enforce authorization.
3. Configure email before connecting the spreadsheet
Open Contact Form 7's Mail tab. Use a recipient your team monitors and a sender address on your own domain, with the visitor's email in Reply-To:
To: inquiries@example.com
From: Website Inquiry <forms@example.com>
Subject: Website inquiry: [inquiry-type]
Additional headers:
Reply-To: [your-email]
Replace the example addresses with real ones. Using the visitor's address as the sender can conflict with email authentication policies and contribute to delivery problems.
For the message body, start with an explicit template:
Name: [your-name]
Email: [your-email]
Inquiry type: [inquiry-type]

PROJECT
Budget: [project-budget]
Details: [project-details]

SUPPORT
Website: [support-url]
Issue: [support-details]
Blank fields for the unused branch are acceptable for an initial setup. The conditional-fields add-on also supports conditional email sections; use the syntax documented for your installed version if you want cleaner notifications.
Test delivery to the actual recipient. A successful on-screen form response is not proof that an email reached the inbox. If necessary, configure authenticated SMTP through an appropriate WordPress mail plugin and check your sending domain's authentication records.
4. Prepare the Google spreadsheet
Create a spreadsheet owned by a business-controlled Google account rather than an employee's personal account. Add a worksheet tab called Inquiries.
In the first row, add these headers, one per column:
A1: your-name
B1: your-email
C1: inquiry-type
D1: project-budget
E1: project-details
F1: support-url
G1: support-details
For the connector's field-name-based mapping, these headers match the Contact Form 7 field names exactly, without square brackets or asterisks. Do not use the friendly field labels as headers unless your connector version provides explicit mapping controls configured for those labels.
Keep the receiving worksheet simple: one header row, no merged cells, and no unrelated content in the submission area. Put reports, charts, and calculations in another tab so spreadsheet maintenance does not disturb incoming records.
Share the spreadsheet only with people who need access. A form containing personal information does not justify making its destination sheet public.
5. Authorize and configure the Google Sheets connector
Activate CF7 Google Sheets Connector and locate its Google integration settings. Exact labels vary by release, but the setup has two parts: authorizing Google access and selecting a destination for the individual form.
- Start the connector's Google authorization process.
- Sign in with an account that can edit the spreadsheet.
- Review the requested permissions and approve them if appropriate.
- Complete the connector's return or authorization-code step and save the connection.
- Open your Contact Form 7 form and locate its Google Sheets settings tab.
- Enter or select the spreadsheet and worksheet details requested by that release.
- Save the form's integration settings.
Some releases ask for sheet names, IDs, or a combination. The spreadsheet ID appears between /d/ and /edit in its URL; the worksheet's numeric identifier appears as gid. These identify different things and should not be interchanged.
Never publish authorization codes or tokens in screenshots, support tickets, or source control. If a connection later stops working, check whether access was revoked or the authorizing account lost permission to edit the file.
6. Publish and test the complete workflow
Copy the shortcode Contact Form 7 generates and add it to the intended WordPress page using a shortcode-compatible editor block or content area.
Then test the public page while logged out. A preview inside the administration area does not fully represent the visitor experience.
Run this checklist:
- Submit a complete new-project inquiry and confirm the correct spreadsheet columns receive its values.
- Submit a support request and check that the unused project columns are blank unless retained values were deliberately submitted.
- Switch between inquiry types after entering data and inspect what actually gets recorded.
- Try an invalid email address and omit a visible required field; confirm validation prevents a normal submission.
- Check email delivery separately from spreadsheet delivery.
- Test on a phone and with keyboard navigation, including the newly revealed fields.
Also send harmless test text beginning with =, such as =1+1, and inspect whether Sheets treats it as text or a formula. If the connector interprets user input as formulas, investigate its input mode or add appropriate sanitization before deployment. Untrusted submissions should not become executable spreadsheet formulas.
Common pitfalls and ongoing maintenance
Email arrives, but no spreadsheet row appears
Check Google authorization, edit permissions, destination identifiers, and the connector's error or debug output. Also verify which submission event your installed connector uses. Do not assume a row will be written when mail fails or a submission is classified as spam; test those outcomes if they matter to your workflow.
Some spreadsheet cells remain empty
Compare headers with form field names character by character. Confirm you saved the integration settings on the correct form, and distinguish an expected blank conditional field from a broken mapping.
Conditional groups stop responding
Check the browser console for JavaScript errors. On staging, temporarily disable script minification, combination, or deferred loading to isolate conflicts. Purge caches after changes so visitors receive the current form markup and scripts.
The spreadsheet becomes your only record
Contact Form 7 does not store submissions in WordPress by default. Consider a compatible storage plugin, such as Flamingo, when a second record is warranted. Test it alongside the connector and protect the stored data with appropriate access controls and a retention policy.
Add spam protection suited to your site, explain data handling in your privacy notice, and periodically delete records you no longer need. Avoid collecting passwords, payment details, or other sensitive information through this general-purpose inquiry workflow.
Takeaway
Contact Form 7 becomes more useful when conditional questions reduce friction and a Google Sheets connector removes manual copying. The dependable setup is not just a connected form: it has stable field names, tested hidden-field behavior, verified email and spreadsheet delivery, restricted access, and a recovery plan when one component fails.
Conversation (0)
No comments yet. Start the conversation.
Join the conversation
Create a free member account to comment.