How To Edit Content Text, Styles & Margins In WordPress Elementor
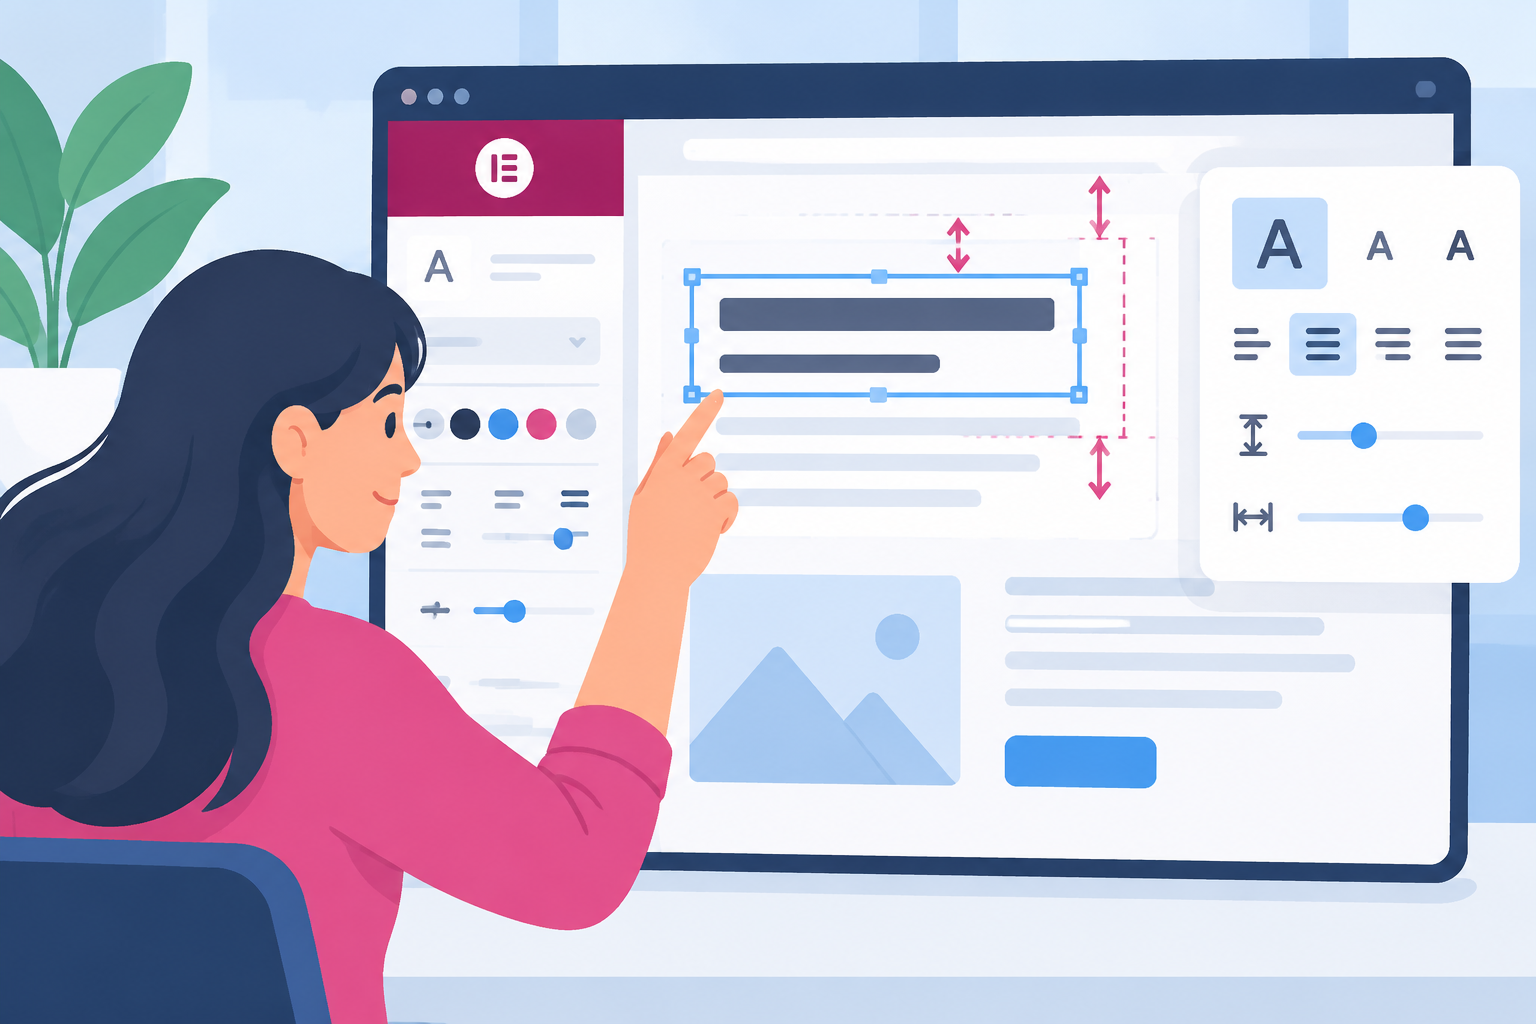
A small content change should not require rebuilding a page. With Elementor, you can update a headline, adjust paragraph styling, and give crowded content more breathing room directly in WordPress. The challenge is knowing which controls affect the text itself, which affect its appearance, and which change the space around it.
This guide walks through those differences and shows you how to make controlled edits without accidentally changing the rest of your layout. You will start by opening an existing page, then work through text, styles, margins, and responsive checks before publishing.
This guide describes the WordPress and Elementor workflow as of 2020; tools and interfaces may have changed since then.
Before you start editing
You will need a WordPress account with permission to edit the page and a site with Elementor installed and activated. These instructions focus on the standard Heading and Text Editor widgets, so Elementor Pro is not required for the basic changes covered here.
If you are editing a live business site, take a backup or use a staging copy before making substantial layout changes. For a small text correction, it is still worth recording the existing wording and taking a screenshot of the section you plan to change.
Keep the existing page open in a separate browser tab. That gives you a reference for its original appearance and makes it easier to compare your published changes later.
1. Open the page in Elementor
- Visit
www.your-site.com/wp-admin/, replacing the example domain with your own. - Log in with your WordPress credentials.
- Go to Pages → All Pages and locate the page you want to update.
- Use Edit with Elementor if that option appears in the page’s action links. Alternatively, open the page editor and click its Edit with Elementor button.
- If you are already viewing the public page while logged in, look for Edit with Elementor in the WordPress toolbar at the top.
Elementor opens with an editing panel on the left and a live page preview on the right. Selecting an element in the preview displays its available controls in the panel.
If the Elementor option is missing, check that the plugin is active and that your account can edit the page. Also confirm you are opening the actual page, rather than a blog archive or another view generated by your theme.
Practical tip: Avoid switching an established Elementor layout into the regular WordPress editor to change its content. Make your edits in the builder that owns the layout.
2. Select the right part of the layout
In the 2020 Elementor editor, a typical page is organized into three levels:
- Sections: Large horizontal areas that group page content.
- Columns: Divisions within a section that arrange content side by side.
- Widgets: Individual elements such as headings, text blocks, images, and buttons.
This hierarchy matters because spacing and styling can be applied at more than one level. A margin added to a text widget affects that widget; a margin added to its section affects a much larger area.
Hover over the content you want to change and click the widget’s edit icon. For a headline, you will usually see an Edit Heading panel. For a paragraph, you will usually see Edit Text Editor.
If selecting the right element is difficult, open Navigator from Elementor’s lower toolbar or the right-click menu. Navigator displays the page structure so you can select a widget, column, or section without repeatedly clicking overlapping elements.
Understand the three main tabs
Most widgets expose three main tabs:
- Content controls the words and widget-specific settings.
- Style controls appearance, including colors and typography.
- Advanced controls spacing and other behavior, including margins and padding.
Start with Content, move to Style, and adjust Advanced settings only when necessary. This sequence makes unexpected changes easier to diagnose.
3. Edit headings and paragraph text
Change a heading
- Select the Heading widget in the page preview.
- Open the Content tab.
- Edit the text in the Title field.
- Check the preview for unexpected line breaks.
- Review the link and HTML Tag settings without changing them unnecessarily.
The HTML tag describes the heading’s role in the document. It is not simply a font-size control. Keep the page’s heading hierarchy logical: a main heading followed by section headings and subordinate headings where appropriate.
If a heading looks too small, adjust its typography rather than changing an H2 to an H1 solely for appearance.
Change a paragraph
- Select the Text Editor widget.
- Open Content and locate its editor field.
- Edit the copy in the visual editor.
- Use the toolbar for basic formatting such as bold text, lists, and links.
- Review the complete text block in the page preview.
Some widgets also support inline editing directly in the preview. The panel editor is often easier for longer passages or when checking paragraph breaks.
When pasting from a document or another website, use your browser’s paste-as-plain-text shortcut where available. Pasted content can carry font sizes, colors, and other formatting that conflicts with Elementor’s controls.
Use paragraphs and links deliberately
Use separate paragraphs for separate ideas. Do not insert repeated blank lines to create space between content blocks; that spacing becomes difficult to manage on smaller screens.
For links, select meaningful text and use the editor’s link control. Confirm the destination is correct. Use a new tab only when it serves a clear purpose, rather than enabling it for every link.
The Text Editor widget also has an HTML/text editing view. A simple, clean block might look like this:
<p>We build WordPress websites that are easy to maintain.</p>
<p><a href="/contact/">Discuss your website project</a> with our team.</p>
Only use that view if you are comfortable editing HTML. Avoid removing tags at random to fix a visual problem.
4. Adjust text styles without losing consistency
Select your widget and open Style. Available controls differ by widget, but headings and text commonly include text color, alignment, and typography settings.
Set typography
- Expand Typography, usually through its edit icon.
- Adjust the font family only if the page needs a different typeface.
- Set the font size and weight.
- Adjust line height for comfortable reading.
- Use letter spacing sparingly, particularly for paragraph text.
Change one setting at a time. A heading that feels crowded may need more line height, not a smaller font or a wider column.
For body copy, prioritize readability over fitting more words into a smaller area. Extremely small text and tight line spacing make a page harder to scan, especially on phones.
Choose color and alignment
Use the site’s existing color palette rather than introducing a slightly different shade for every widget. Check that text remains clearly distinguishable from its background, including over images.
For longer paragraphs in a left-to-right language, left alignment is generally easier to read than centered text. Centering can work well for a short headline or brief introduction, but it becomes tiring across several paragraphs.
Know when styles are inherited
Text may inherit its appearance from the theme or Elementor’s default styling. Explicit widget settings can override those inherited values. Some Elementor versions available during 2020 also include global styling controls, but their location and capabilities vary.
If your change does not appear to work, check for formatting inside the Text Editor content. A pasted inline color or font size can override the appearance you expected from the Style tab. Remove unnecessary local formatting before making broader site-wide changes.
Common pitfall: Changing a global font to fix one paragraph can alter many other parts of the website. Use widget-level settings for a genuinely local exception.
5. Edit margins and padding correctly
Margins and padding both create space, but they act in different places:
- Margin creates space outside an element’s border.
- Padding creates space inside the border, between the content and its edge.
If two widgets are too close together, a margin may be appropriate. If text sits too close to the edge of a colored box, padding is usually the better choice.
Adjust a widget’s margin
- Select the widget you want to move away from neighboring content.
- Open Advanced.
- Find Margin and review the top, right, bottom, and left values.
- Click the chain icon to unlink the values if you need different spacing on each side.
- Enter a value for the relevant side and inspect the preview.
For example, to create more space below a paragraph before a button, try a bottom margin of 20px on the paragraph widget. Treat that as a starting point, not a universal design rule.
When the chain is linked, editing one side can apply the same value to every side. This is a common cause of content suddenly looking narrower or shifting away from an aligned edge.
Adjust padding on the appropriate parent
If all the content inside a section needs more breathing room:
- Select the section using its handle or Navigator.
- Open Advanced → Padding.
- Unlink the values if needed.
- Adjust the top, bottom, or side padding.
- Check every widget inside that section.
Column padding is useful when the space belongs to one column rather than the entire section.
Pixels are straightforward for small, predictable adjustments. Percentage-based spacing changes with the containing width, so check it carefully across screen sizes. Avoid mixing units without a clear reason.
Diagnose large gaps before adding offsets
An unexpected gap may come from section padding, column padding, widget margins, a Spacer widget, or paragraph spacing defined by the theme. Select each relevant level and inspect its settings before adding compensating values.
Avoid negative margins as a first response. They can create intentional overlaps, but they can also conceal the actual cause of a layout problem and produce collisions on mobile.
6. Check tablet and mobile layouts
A desktop edit is not finished until you have checked smaller screens. Longer wording can wrap a headline onto extra lines, and generous desktop spacing can leave a phone screen looking empty.
- Open Responsive Mode from Elementor’s lower toolbar.
- Switch between desktop, tablet, and mobile previews.
- Check headings, paragraph widths, alignment, and spacing.
- Look for a device icon beside controls that support responsive values.
- Set device-specific typography or spacing where needed.
- Switch back through the previews to verify the result.
Do not assume every setting is device-specific. Content edits generally affect the same widget on all devices, while only supported controls offer responsive values.
If text runs off the screen, inspect fixed widths, oversized typography, and excessive side spacing before inserting manual line breaks. Forced breaks that look good on desktop often create awkward mobile headings.
The editor’s previews are useful, but also test the saved page in a normal browser and, when possible, on a real phone.
7. Save, verify, and recover if necessary
For an existing published page, click Update to save your changes. On a live site, this makes those edits public. A new unpublished page may instead show publishing controls.
Open the public page in your separate tab and refresh it. Check the changed text, links, heading wraps, and nearby sections. If you still see the old version, try a hard refresh and clear relevant page or hosting caches if your site uses them.
For mistakes made during editing, use undo or Elementor’s History panel. Its Actions view helps you move through editing changes, while Revisions can provide earlier saved versions when available. Review the result carefully after restoring a revision, because it may revert more than the individual change you intended.
Takeaway
Reliable Elementor editing comes down to choosing the right layer. Use Content for wording, Style for appearance, and Advanced for margins and padding. Make small changes, inspect the parent layout when spacing looks wrong, and check mobile before updating. That approach keeps routine content maintenance predictable without disrupting the rest of your page.
Conversation (0)
No comments yet. Start the conversation.
Join the conversation
Create a free member account to comment.