Lightshot is the best tool for taking Screenshots
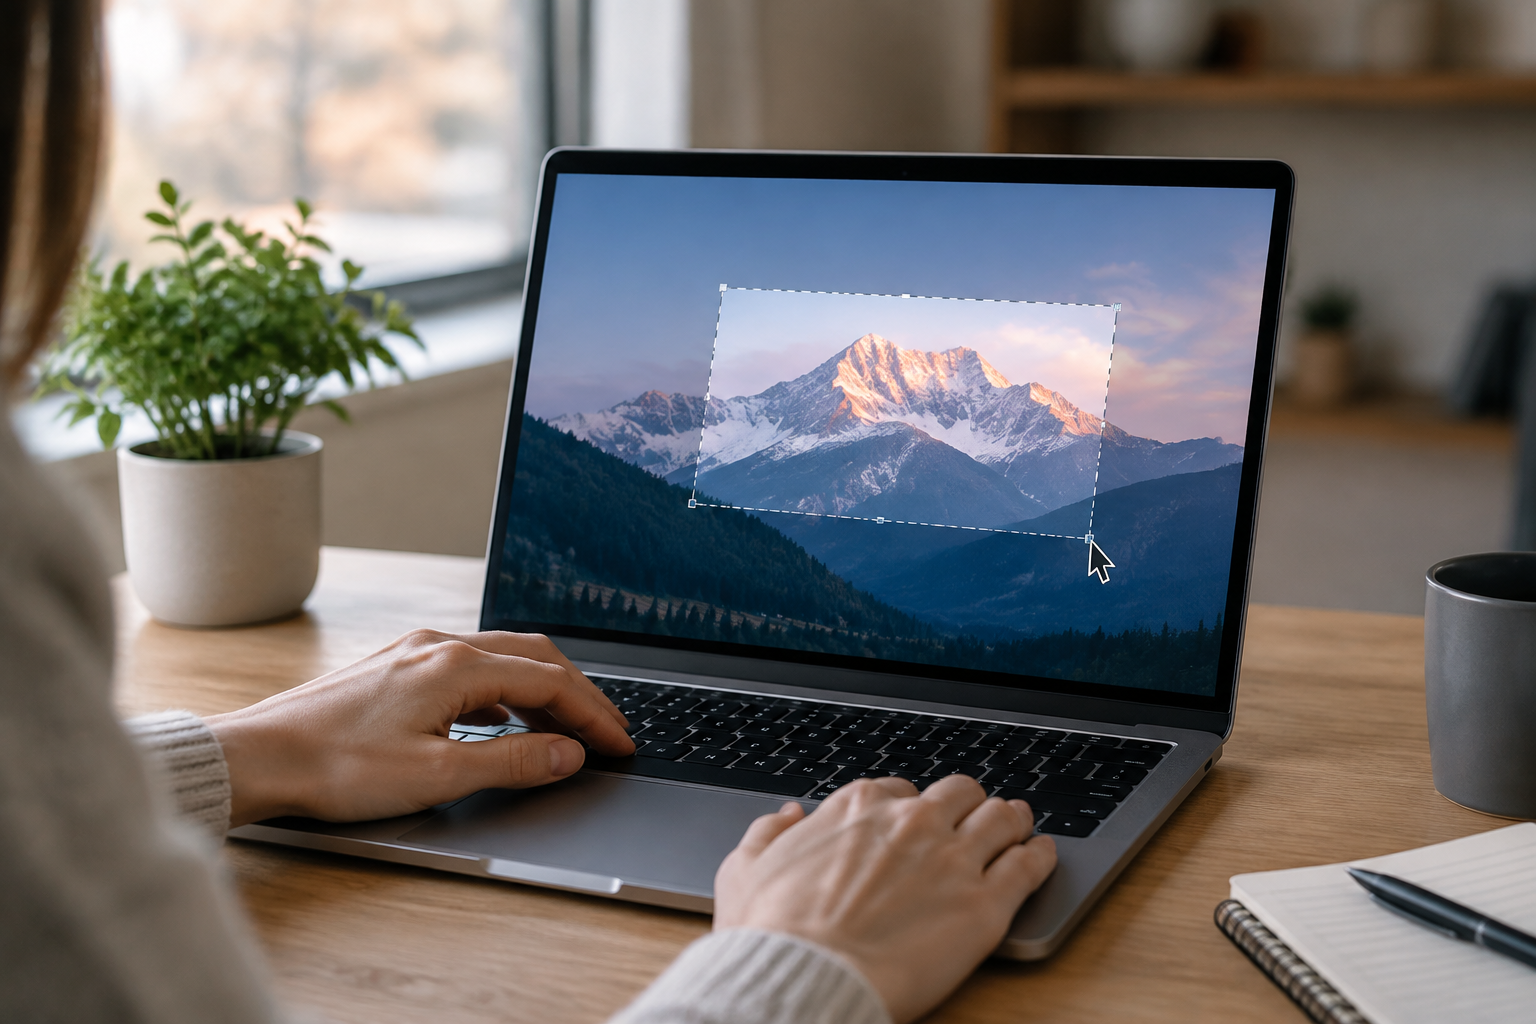
A good screenshot tool should disappear into the task. You spot a layout problem, select the relevant part of the screen, add an arrow, and send it to the person who can help. You should not need to open an image editor or spend longer explaining the screenshot than you spent taking it.
That is why Lightshot is our pick for everyday desktop screenshots. Its appeal is not a long feature list. It is the short distance between seeing something worth sharing and having a useful image ready to paste, save, or send.
This article reflects Lightshot as of 2022; tools, interfaces, and operating-system shortcuts may have changed since then.
Lightshot is particularly useful for software teams, where small visual details matter. A screenshot can show a misaligned button, preserve an error message, or make a design discussion concrete. The same benefits apply to support requests, documentation, and everyday office work.
It is not the best choice for every capture task, and its sharing features deserve some caution. But for quick, draggable selections with lightweight annotations, it strikes an excellent balance between speed and simplicity.
What makes Lightshot worth installing?
Lightshot is a screenshot utility available for Windows and macOS. Its basic workflow is straightforward: activate the tool, drag a rectangle around the area you want, then annotate, copy, save, or upload the result.
That sounds simple because it is. The advantage is having those actions together rather than spread across several applications.
Capture only what matters
A full-screen screenshot often includes too much: browser tabs, unrelated windows, notifications, and large areas of empty space. The recipient has to work out which part matters.
Lightshot starts with a region selection. You drag around the relevant area and can adjust the selection before finishing. This encourages a better habit: capture enough context to explain the issue, but not the entire desktop by default.
For example, a screenshot of a broken form should usually include its label, input, validation message, and submit button. It probably does not need the browser bookmarks bar or the chat window beside it.
Add an explanation without opening another app
Lightshot includes basic annotation tools such as arrows, lines, rectangles, freehand drawing, and text. These are enough for many routine conversations.
An arrow can point to the incorrect spacing. A rectangle can distinguish the affected component from surrounding content. A short text label can explain what the viewer should notice.
The goal is not elaborate image editing. It is making the screenshot understandable at a glance.
Choose how the image leaves your desktop
You can copy a capture to the clipboard, save it as a local file, or upload it through Lightshot’s sharing service.
Those options support different workflows:
- Copy when you want to paste directly into a chat, email, or issue editor that supports images.
- Save when you need a durable file for documentation, a ticket attachment, or an approved storage location.
- Upload when a link is appropriate and the screenshot is safe to place on an external service.
For most internal work, copying or saving is the better default. A convenient link is not automatically a private one.
How to get started with Lightshot
Installation is easy, but a few minutes of setup help prevent shortcut conflicts and accidental sharing.
1. Download it from the official source
Start at Lightshot’s official website, app.prntscr.com, and choose the installer for your operating system. Avoid third-party download portals and advertisements that resemble download buttons.
Run the installer and review the options presented. On a managed work computer, follow your organization’s software approval process rather than assuming a free utility is automatically permitted.
After installation, confirm that Lightshot is running and that you can find its tray or menu-bar controls.
2. Confirm the capture shortcut
On Windows, Lightshot commonly uses the Print Screen key. Some keyboards label it PrtSc or require an additional function key.
On macOS, use the shortcut shown in Lightshot’s controls or preferences. Check the installed application rather than assuming it uses the same key combination as another screenshot utility.
Take a test capture. If a different tool opens, you probably have a shortcut conflict. Windows capture settings, cloud-storage applications, or another screenshot utility may already handle the key.
Choose one primary capture tool and give it an unambiguous shortcut. Repeatedly fighting over the same key defeats the purpose of a faster workflow.
3. Drag to select an area
Open something harmless, such as a blank document or a public webpage. Activate Lightshot, then click and drag around the area you want to capture.
Adjust the selection if needed. Leave a little breathing room around the subject so that borders, labels, and surrounding context remain visible.
If you started on the wrong screen or selected the wrong content, cancel and try again. Pressing Esc lets you leave the capture workflow without producing an image.
4. Add one useful annotation
Try an arrow or rectangle, then add a short label if the meaning is not obvious.
Use a color that contrasts with the image. A red arrow may work on a pale interface but disappear against a red error banner. Avoid covering the text or component you are trying to discuss.
A useful rule: every annotation should answer a question. Where is the problem? What is missing? Which of these controls needs attention?
5. Copy or save the result
Use the copy control to put the image on your clipboard, then paste it into your destination. Check that the destination accepts image pastes and that the image actually appears before sending.
Alternatively, use the save control and choose a sensible location and filename. For screenshots containing interface text, PNG is usually a good choice because it avoids the compression artifacts that JPEG can introduce around sharp edges.
Open your first saved image to confirm that the selection and annotations look as expected.
A screenshot workflow for software teams
Lightshot becomes more valuable when it supports a consistent communication habit. The image is only part of the message; a little context turns it into something another person can act on.
Reporting a visual bug
Use this sequence when documenting a UI problem:
- Reproduce the issue and pause at the relevant state.
- Remove unrelated or sensitive information from view.
- Capture the affected component with enough surrounding context to identify it.
- Add one arrow or rectangle to mark the problem.
- Attach the image to the issue and describe the expected behavior.
- Include reproduction steps and relevant environment details in the ticket text.
A useful report might say: “The validation message overlaps the submit button at this window width. Expected: the message should remain above the button without covering it.”
The screenshot shows the symptom. The written report explains the expectation and helps someone reproduce it. Neither replaces the other.
Giving design feedback
Separate observation from preference. “The label wraps onto three lines” is an observation; “I would prefer a shorter label” is a proposed change.
If you are comparing two states, capture them at the same zoom level and roughly the same dimensions. Otherwise, differences in scale can look like differences in spacing or typography.
Keep longer feedback in the surrounding message. Crowding a screenshot with paragraphs makes it harder to read and less accessible.
Writing lightweight instructions
A small set of focused screenshots can explain a workflow better than one image containing an entire application.
Capture each meaningful state separately, use consistent framing, and put the instructions in real text alongside the images. This makes the guide easier to search, update, and use with assistive technology.
For a multi-step guide, descriptive filenames such as 01-open-settings.png and 02-select-notifications.png also help keep assets organized.
Privacy: the most important Lightshot habit
Lightshot’s upload option is convenient, but it should not be treated as confidential file sharing. Uploaded screenshots are accessible through their links; an obscure-looking URL is not access control.
Do not upload credentials, private customer information, internal dashboards, financial records, or unreleased work unless your organization has explicitly approved that use and the sharing method meets its requirements.
Inspect the whole selection before sharing
Sensitive information often appears around the main subject rather than inside it. Check for:
- Email addresses, account names, and profile details.
- Browser tabs and address bars containing private information.
- API keys, tokens, or passwords in terminals and developer tools.
- Customer records and identifying details.
- Notifications that appeared while you were working.
Whenever possible, reproduce the issue with test data. Preventing sensitive content from entering the screenshot is safer than trying to remove it afterward.
Do not mistake annotation for redaction
A rectangle outline does not hide its contents, and freehand marks may leave characters visible. Lightshot’s annotation tools should not be treated as a dedicated secure-redaction workflow.
If redaction is necessary, use an appropriate editor, permanently remove or replace the sensitive pixels, and inspect the exported image. For work material, follow your organization’s approved process.
Copying or saving locally avoids Lightshot’s public-link upload step, but your eventual destination still matters. A screenshot pasted into the wrong channel is still a disclosure.
Common pitfalls and where Lightshot falls short
The most common mistake is capturing too little context. A tightly cropped error message may be readable but impossible to place. Include the relevant section heading or control when it helps explain the situation.
The opposite mistake is capturing everything. Full-desktop images make details smaller and can expose unrelated information. Prefer deliberate selections.
Other pitfalls include adding too many arrows, forgetting where files were saved, and relying on a shared link as the only lasting record of an issue. Store important screenshots with the ticket or documentation they support, subject to your retention policies.
Lightshot also has limits. Its desktop selection workflow is not a full-page scrolling capture tool, a video recorder, or an advanced editor. For a long webpage, use a browser capture feature or a dedicated scrolling tool. For a timing-dependent interaction, a screen recording may communicate the problem better.
And installation is not always necessary. Windows’ built-in capture tools and macOS’s screenshot controls already handle many basic tasks. If those tools meet your needs, there is no obligation to replace them. Lightshot earns its place when its selection-and-annotation workflow removes friction from work you do frequently.
Takeaway
Lightshot is an excellent everyday screenshot tool because it keeps the essential actions close together: select, annotate, and share. For quick visual communication, that simplicity is often more useful than a larger feature set.
Set up a reliable shortcut, capture only the context that matters, and default to copying or saving work images. Combine those habits with a privacy check, and Lightshot becomes a small tool that makes daily collaboration noticeably easier.
Conversation (0)
No comments yet. Start the conversation.
Join the conversation
Create a free member account to comment.