Updating Navigation Menu Links in Shopify
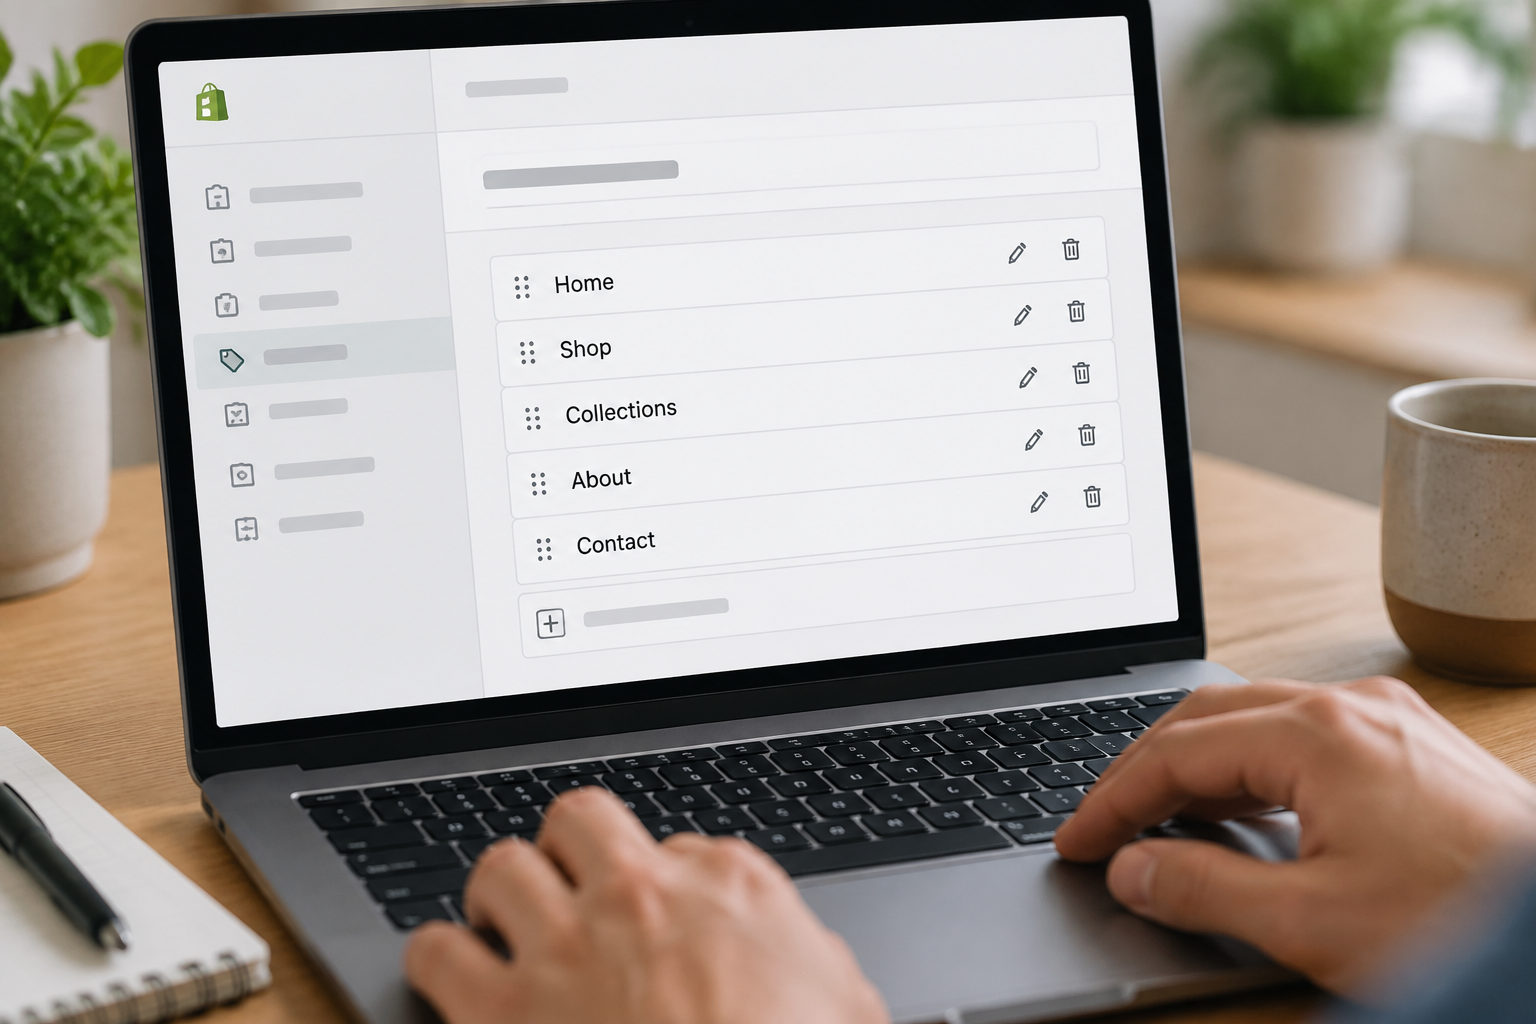
A store’s navigation should make shopping easier, not send customers hunting for the right page. Whether you are replacing an outdated collection link, adding a shipping policy, or reorganizing your main menu, a small navigation update can make a meaningful difference to how people move through your Shopify store.
Shopify keeps menu labels and destinations separate from the pages, products, and collections they point to. That means you can change what a link says, or where it sends someone, without rebuilding your storefront. The key is to edit the correct menu, choose the right destination, and check how your theme displays the result.
This guide follows Shopify’s admin as of 2020; tools and interfaces may have changed since then.
Before you start
You will need access to your Shopify admin and permission to manage online store navigation. If you use a staff account and cannot see the relevant settings, ask the store owner to check your permissions.
Before making changes, identify three things:
- The menu you want to update: usually the Main menu or Footer menu, though your store may have custom menus.
- The destination: a product, collection, page, blog, policy, or external website.
- The customer-facing label: the text shoppers will click, such as “Shop All,” “Contact,” or “Shipping & Returns.”
For a larger reorganization, take a screenshot of the current menu and note any important destinations. Shopify’s menu editor is not a version-history tool, so having a reference makes it easier to undo unwanted changes manually.
1. Open Navigation in your Shopify admin
Log in to Shopify and select the store you want to edit if you manage more than one.
In the left-hand sidebar:
- Click Online Store.
- Click Navigation.
- Find the menu you want to change.
You will typically see Main menu and Footer menu, along with any additional menus created for your store.
The Main menu usually supplies links for the header or primary navigation. The Footer menu usually supplies links near the bottom of the storefront. However, those names do not guarantee where a menu appears: your theme determines which menu is displayed in each location.
If you are unsure which menu controls a visible set of links, compare its items with the storefront. For a more definitive check, open Online Store → Themes → Customize and inspect the relevant header or footer settings. The available controls depend on your theme.
2. Edit an existing menu link
Click the name of the menu you want to update. Its menu items will appear in the editor.
To change an existing item:
- Find the menu item in the list.
- Click Edit beside it.
- Update the Name field if you want different link text.
- Update the Link field if you want a different destination.
- Confirm the item-level change with Apply changes.
- Click Save menu to save the menu itself.
Do not overlook that final save. Applying changes to an individual item and saving the complete menu are separate actions.
Change the label without changing the destination
The Name field controls the text customers see in the navigation. For example, you might rename “Catalog” to “Shop” while keeping it linked to the same collection.
This does not rename the collection, change its page heading, or alter its URL. It only changes the menu label.
Use short, descriptive wording. “Shipping” is usually easier to scan than “Everything You Need to Know About Shipping.” Keep the most important meaning near the beginning, especially when checking narrow mobile layouts.
Change the destination without changing the label
Sometimes the label is still useful, but its destination is outdated. A “New Arrivals” link might need to point to a newly organized collection, for example.
Replace the existing destination in the Link field, select the correct result, and save. If the old selection prevents you from browsing for another destination, clear it first.
When linking to something within Shopify, use the destination picker where possible rather than copying a URL from your browser. This helps avoid accidentally pasting an admin address, a preview link, or the wrong storefront domain.
3. Add a new menu item
To add a link rather than replace one:
- Open the appropriate menu.
- Click Add menu item.
- Enter a clear label in the Name field.
- Click the Link field and choose a destination, or enter a web address.
- Click Add.
- Position the new item where you want it.
- Click Save menu.
For an internal destination, browse the available categories, such as collections, products, pages, or blogs. For an external destination, enter its full address, including https:// when supported by that website.
Adding a menu item does not create the content behind it. If you need an “Our Story” page, create that page first under Online Store → Pages, then return to Navigation and select it.
Match the destination to the customer’s task
Choose the type of destination that best matches what someone expects after clicking:
- Collections work well for shopping categories containing multiple products.
- Products are appropriate for a specific featured item.
- Pages suit information such as contact details, sizing guidance, or an about page.
- Blogs provide an entry point to articles and updates.
- Policies are useful for standard store information, especially in the footer.
- External websites can connect shoppers to a separate resource or service.
Avoid sending a broad label such as “Shoes” to one individual product unless the label makes that limitation clear.
4. Reorder links and create dropdowns
Menu order affects how quickly shoppers find important destinations. Put your most useful shopping or informational links where they are easy to spot, rather than simply leaving everything in the order it was created.
Reorder menu items
- Open the menu in Navigation.
- Locate the drag handle beside an item.
- Drag the item up or down to its new position.
- Repeat for other items as needed.
- Click Save menu.
Review the whole list before saving. It is easy to move an item one position too far or unintentionally change its nesting while dragging.
Create a nested menu
Shopify supports nested menu items, which compatible themes can display as dropdowns or expandable navigation.
To place an item beneath another:
- Create both the parent item and the intended child item.
- Drag the child below the parent.
- Move it to the right until it appears indented beneath the parent.
- Release it, then save the menu.
For example, “Shop” could be the parent, with “Clothing,” “Accessories,” and “New Arrivals” beneath it.
Shopify allows up to two nested levels below a top-level menu item, giving three levels overall. Your theme determines how those levels appear and whether its navigation design accommodates them well.
Keep nesting shallow when possible. A simple dropdown is usually easier to navigate than several layers of narrowly divided categories.
5. Remove links you no longer need
To remove an item, open its menu, click Delete beside the item, confirm when prompted, and save the menu.
Deleting a menu item removes the navigation link, not the underlying product, collection, or page. The destination can still be accessible through search, other links, or its direct URL.
Be particularly careful with parent items. Removing a parent can also remove its nested menu items. If you want to keep those links, move them out from under the parent before deleting it.
If the linked content is also being retired, handle that separately. Removing a link is not a substitute for unpublishing obsolete content or redirecting an old URL.
6. Check the updated menu on your storefront
After saving, open the storefront and test the change as a customer would.
- Refresh the page so you are not looking at the previous menu.
- Confirm the updated label and position.
- Click the link and verify the destination.
- Test any dropdown or nested items.
- Repeat on a phone or in a narrow browser window.
- Check the footer if you edited footer navigation.
For dropdowns, also try keyboard navigation. Use Tab to move through links and verify that the menu remains understandable without a mouse. If a dropdown depends entirely on hovering, it may require a theme-level improvement rather than another navigation edit.
Where possible, test outside your admin session. A product or page that appears accessible to you may not be available to shoppers. Check publication status, visibility, and Online Store availability where applicable.
Common problems and how to fix them
The changes do not appear
First, return to Navigation and confirm that the menu saved correctly. Then check whether your live theme uses that menu in the location you are viewing.
A custom menu named “Header Links” might control the header instead of Main menu. Similarly, changes to the settings of an unpublished theme will not change the live theme’s menu assignment.
Refresh the storefront or try a private browsing window before making further edits.
The link opens a missing or incorrect page
Edit the menu item and inspect its destination. Common causes include selecting a similarly named page, linking to unpublished content, or pasting an outdated URL.
If a page’s URL has changed, consider whether the old address needs a redirect as well. In the 2020 admin, URL redirects are managed through Online Store → Navigation → URL redirects. Redirects help visitors using old bookmarks or links elsewhere; changing a menu item alone does not update those routes.
The dropdown does not work as expected
Confirm that the child items are actually indented beneath the intended parent. Then check your theme’s dropdown support and navigation settings.
Do not assume the parent label behaves identically across themes. Some designs treat it as a clickable destination; others emphasize opening the submenu. Test both desktop and mobile behavior before relying on the parent as the only route to an important collection.
You want an external link to open in a new tab
Shopify’s standard navigation editor in 2020 does not provide a per-item “open in new tab” setting. That behavior generally requires theme support or a code customization.
Avoid editing theme code solely because you cannot find that checkbox. First decide whether a new tab is genuinely necessary; ordinary same-tab links are predictable and let customers choose how to open them.
Takeaway
Updating Shopify navigation is straightforward: open Online Store → Navigation, choose the correct menu, edit or add your links, and save. The important finishing step is testing the live storefront. Clear labels, accurate destinations, and simple dropdowns turn a routine admin change into a better shopping experience.
Conversation (0)
No comments yet. Start the conversation.
Join the conversation
Create a free member account to comment.