Migrate Cloud Providers: Use Daisy & GCP Cloud Build To Export VM Images
Moving a virtual machine between cloud providers sounds like a file-transfer problem: export a disk, upload it somewhere else, and boot it. In practice, the file transfer is often the easy part. Permissions, image formats, operating-system compatibility, temporary infrastructure, and application downtime are what make migrations difficult.
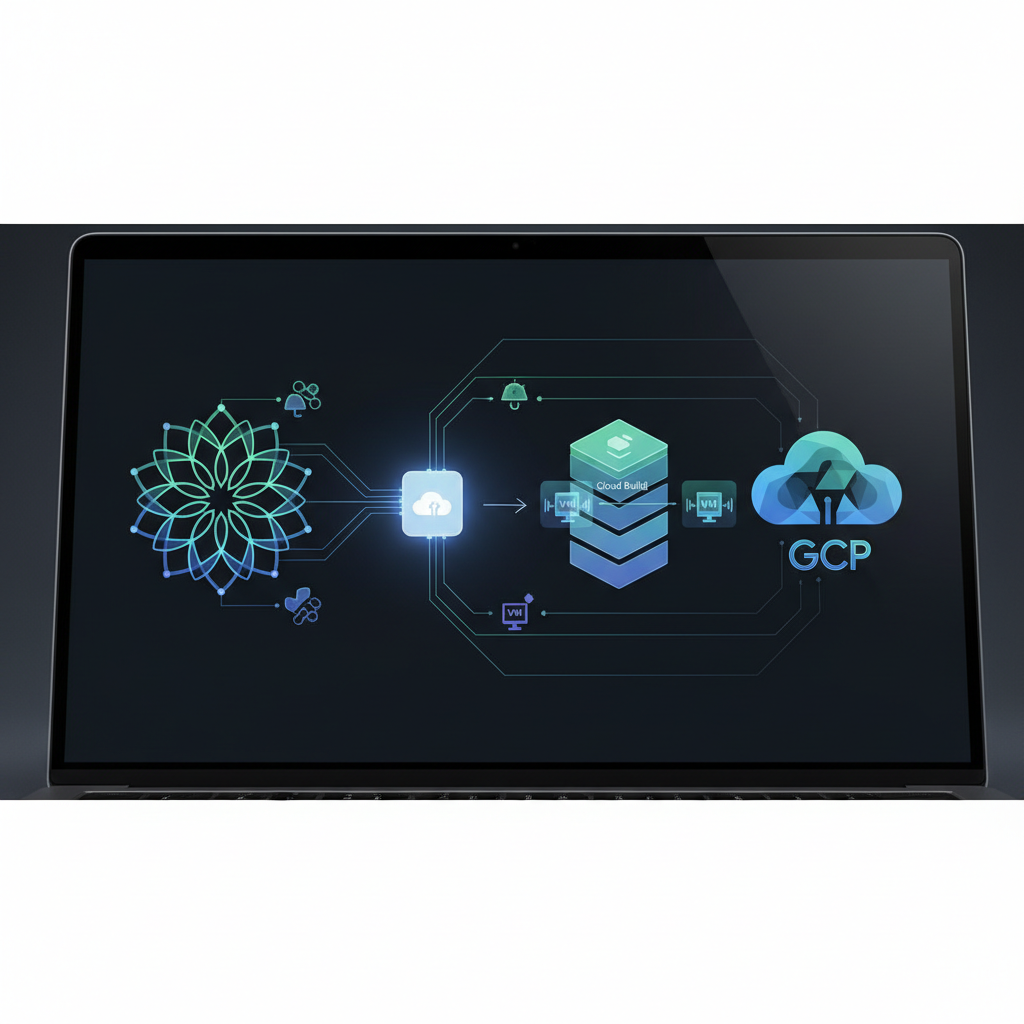
Google Cloud Build and Daisy can help automate the image-handling portion of that work. Cloud Build runs the job, while Daisy coordinates the temporary Compute Engine resources needed to perform operations such as exporting a Compute Engine image to Cloud Storage.
This walkthrough reflects the tools and workflows available in 2019; commands, interfaces, and permission requirements may have changed since then.
There is an important boundary to establish first: exporting an image from GCP is not the same operation as exporting an AWS instance into GCP. We will build a repeatable GCP image-export workflow, then show where it fits into a migration between providers.
What Daisy and Cloud Build actually do
Daisy is a workflow tool for Compute Engine automation. Its workflows describe resources and operations, such as creating disks, starting worker instances, waiting for a task to finish, and cleaning up temporary resources, with dependencies between them.
Google's Compute Engine image tools use Daisy to orchestrate image-processing tasks. Rather than writing your own disk-conversion infrastructure, you can run the image-export tool and let it manage that workflow.
Cloud Build provides the execution environment. A build configuration specifies a container image, arguments, substitutions, and a timeout. Cloud Build also provides build history and logs, which make exports easier to review and repeat.
The division of responsibility is:
- Cloud Build: starts and records the automation job.
- The image-export tool and Daisy: coordinate the export process in Compute Engine.
- Compute Engine: supplies the source image and temporary worker resources.
- Cloud Storage: holds the exported disk artifact and, where applicable, working files.
Cloud Build is not itself a cross-cloud migration service. It does not automatically connect an AWS account, discover servers, or turn an App Engine application into a VM-image destination.
Choose the migration direction first
For a GCP-to-another-provider migration, the image path is:
Compute Engine disk
  -> Compute Engine custom image
  -> Daisy-based export
  -> Cloud Storage object
  -> Destination provider's image-import process
For an AWS-to-GCP migration, the path is different:
Eligible EC2 instance or image
  -> AWS-supported VM export process
  -> Exported disk in S3
  -> Transfer to Cloud Storage
  -> Compute Engine image import
  -> Test VM in GCP
AWS export eligibility, licensing restrictions, and supported operating systems must be checked before starting. An AWS IAM role authorizes AWS-side actions; it does not automatically give Cloud Build access to that account.
The walkthrough below covers the GCP export stage. It is useful for moving workloads out of GCP, preserving portable disk artifacts, or preparing an image for a provider-specific import workflow.
Before you start
Use a nonproduction image for your first run. You will need:
- A Google Cloud project with billing enabled.
- The Compute Engine, Cloud Build, and Cloud Storage APIs enabled.
- A supported source image in Compute Engine.
- A Cloud Storage bucket for the exported artifact.
- Permission to submit builds and authorize their runtime identity.
- Sufficient Compute Engine quota for temporary worker resources.
Decide on a destination format before exporting. The example uses VMDK, but a .vmdk filename alone does not prove compatibility with the destination platform. Check that platform's import requirements, including disk format variants, boot mode, disk size, and operating-system support.
Understand the identities involved
There can be several identities in this workflow: the person submitting the build, the Cloud Build service account, and the service account attached to temporary Compute Engine workers.
In a typical 2019 project, the default Cloud Build service account was:
PROJECT_NUMBER@cloudbuild.gserviceaccount.com
That identity needs permission to perform the export workflow's Compute Engine and storage operations. Attaching a service account to a worker can also require permission to act as that account. The worker's identity needs access to the storage objects it actually uses.
Consult the image-export tool's permission requirements for your version. Avoid granting project-wide Owner access merely to make an initial permission error disappear.
Export a Compute Engine image in six steps
1. Set up the project and export bucket
Authenticate with the Google Cloud SDK, choose the project, and enable the services:
export PROJECT_ID="your-project-id"
export EXPORT_BUCKET="your-globally-unique-export-bucket"

gcloud config set project "$PROJECT_ID"

gcloud services enable \
  compute.googleapis.com \
  cloudbuild.googleapis.com \
  storage.googleapis.com

gsutil mb -p "$PROJECT_ID" -l us-central1 \
  "gs://$EXPORT_BUCKET/"
Bucket names are globally unique. Choose an appropriate location for your migration rather than copying the example location without checking residency requirements and transfer costs.
Treat the bucket as sensitive infrastructure. An exported boot disk may contain application secrets, private keys, configuration files, and customer data. Do not make the bucket public.
2. Prepare a consistent source image
A running disk can change while you capture it. For a straightforward maintenance-window export, stop the application cleanly and shut down the VM before creating an image from its boot disk.
For example:
gcloud compute instances stop app-vm \
  --zone=us-central1-a

gcloud compute images create app-migration-2019-09-01 \
  --source-disk=app-vm \
  --source-disk-zone=us-central1-a
This assumes the boot disk is also named app-vm; verify the actual disk name first.
For databases, a clean VM shutdown is not a substitute for a tested backup and recovery procedure. Consider database-native backups or replication when the downtime required for a full disk migration is unacceptable.
Also inventory additional disks. Exporting an image of the boot disk does not package every attached data disk or preserve the VM's entire configuration.
3. Define the Cloud Build export job
Create a file named cloudbuild-export.yaml:
timeout: '7200s'

steps:
- name: 'gcr.io/compute-image-tools/gce_vm_image_export'
  args:
  - '-project=$PROJECT_ID'
  - '-zone=${_EXPORT_ZONE}'
  - '-source_image=${_SOURCE_IMAGE}'
  - '-destination_uri=${_DESTINATION_URI}'
  - '-export_format=vmdk'

substitutions:
  _EXPORT_ZONE: 'us-central1-a'
  _SOURCE_IMAGE: 'app-migration-2019-09-01'
  _DESTINATION_URI: 'gs://your-export-bucket/exports/app-migration.vmdk'
This invokes the Compute Engine image-export container, which uses Daisy underneath. You do not need to author a Daisy workflow just to perform a standard supported export.
$PROJECT_ID is a built-in Cloud Build substitution. The underscore-prefixed values are custom substitutions that we will override when submitting the job.
The two-hour build timeout is an example ceiling, not a completion estimate. Disk size, conversion work, and resource availability affect duration. If you adjust it, check the export tool's own timeout as well; increasing the outer build timeout does not necessarily extend an internal workflow deadline.
For a maintained automation pipeline, test and pin a known container digest rather than relying indefinitely on an unpinned image.
4. Submit the build
Run the export with an explicit image and a unique object path:
gcloud builds submit \
  --no-source \
  --config=cloudbuild-export.yaml \
  --substitutions="_SOURCE_IMAGE=app-migration-2019-09-01,_EXPORT_ZONE=us-central1-a,_DESTINATION_URI=gs://${EXPORT_BUCKET}/exports/app-migration-2019-09-01.vmdk"
--no-source is appropriate because this job does not compile or upload application source code. All required inputs are specified in the build configuration.
Use a new object name for each export. This avoids confusing an older artifact with a new attempt and makes it easier to associate a file with its source image and build record.
5. Inspect the build and verify the artifact
Review the Cloud Build logs for the export workflow's progress and completion. You can also inspect a build from the command line:
gcloud builds describe BUILD_ID

gsutil ls -lh \
  "gs://$EXPORT_BUCKET/exports/app-migration-2019-09-01.vmdk"
A successful build and an existing object establish that the export completed, not that the disk will boot in another provider.
Record the source image, build ID, destination URI, format, and export date. Keep that information with the migration runbook so that a later import can be traced to the correct source.
6. Check temporary resources and retention
Daisy workflows normally attempt to remove temporary resources. After a failed or interrupted job, check for leftover instances and disks using resource names from the logs.
Delete only resources you have positively identified as belonging to that run. Broad cleanup commands are dangerous in a shared project.
Apply a deliberate retention policy to exported images and working files. Keeping every full-disk export forever creates both storage cost and an expanding collection of sensitive data.
Fit the export into a complete migration
The next step is the destination provider's import procedure. Transfer the artifact using an authenticated method, then follow that provider's supported image-registration and VM-creation process.
For AWS-to-GCP, reverse the responsibility: AWS performs the source export, the exported file is transferred into Cloud Storage, and Compute Engine's image-import tooling prepares a GCP image. Do not run the GCP export container against an EC2 instance or S3 object and expect it to discover or convert the source automatically.
An exported disk does not carry over firewall rules, IAM policies, load balancers, static IP addresses, or managed-service dependencies. Recreate those separately, preferably from reviewed infrastructure configuration.
Before cutover, boot the imported image in an isolated network and test:
- Boot completion and administrative access.
- Disk detection, mounts, and filesystem integrity.
- Network configuration, DNS, and time synchronization.
- Application startup and external dependencies.
- Logging, monitoring, backups, and security controls.
- Data synchronization and the rollback procedure.
Keep the original environment available until those checks pass and the cutover is accepted.
Automate carefully, and avoid common pitfalls
Cloud Build's repository triggers can start a migration-related build after a reviewed configuration change. They are not generic triggers attached directly to EC2 instances or S3 buckets. External events require an explicit integration that submits a build through an authenticated interface.
Likewise, recurring exports require a scheduler or another orchestrator to call the build service. Scheduling alone does not make snapshots application-consistent; coordinate capture with the workload.
The most common problems are:
- Permission failures: determine whether the submitter, build identity, or worker identity lacks access before changing IAM.
- Workers that cannot start: check Compute Engine quota, zone capacity, service-account permissions, and network restrictions.
- Unsupported destination images: verify format, licensing, and operating-system eligibility before spending time transferring disks.
- A bootable but broken application: remove assumptions about provider-specific metadata, agents, addresses, and attached storage.
- Unexpected charges: account for worker VMs, temporary disks, retained artifacts, and cross-cloud network egress.
Takeaway
Daisy and Cloud Build make Compute Engine image exports repeatable and observable. They automate an important migration stage, not the entire migration. Start with a consistent source image, use narrowly scoped identities, preserve traceable artifacts, and validate the imported workload before moving production traffic.
Conversation (0)
No comments yet. Start the conversation.
Join the conversation
Create a free member account to comment.