Using Camera Native Function In React To Scan Object Dimensions
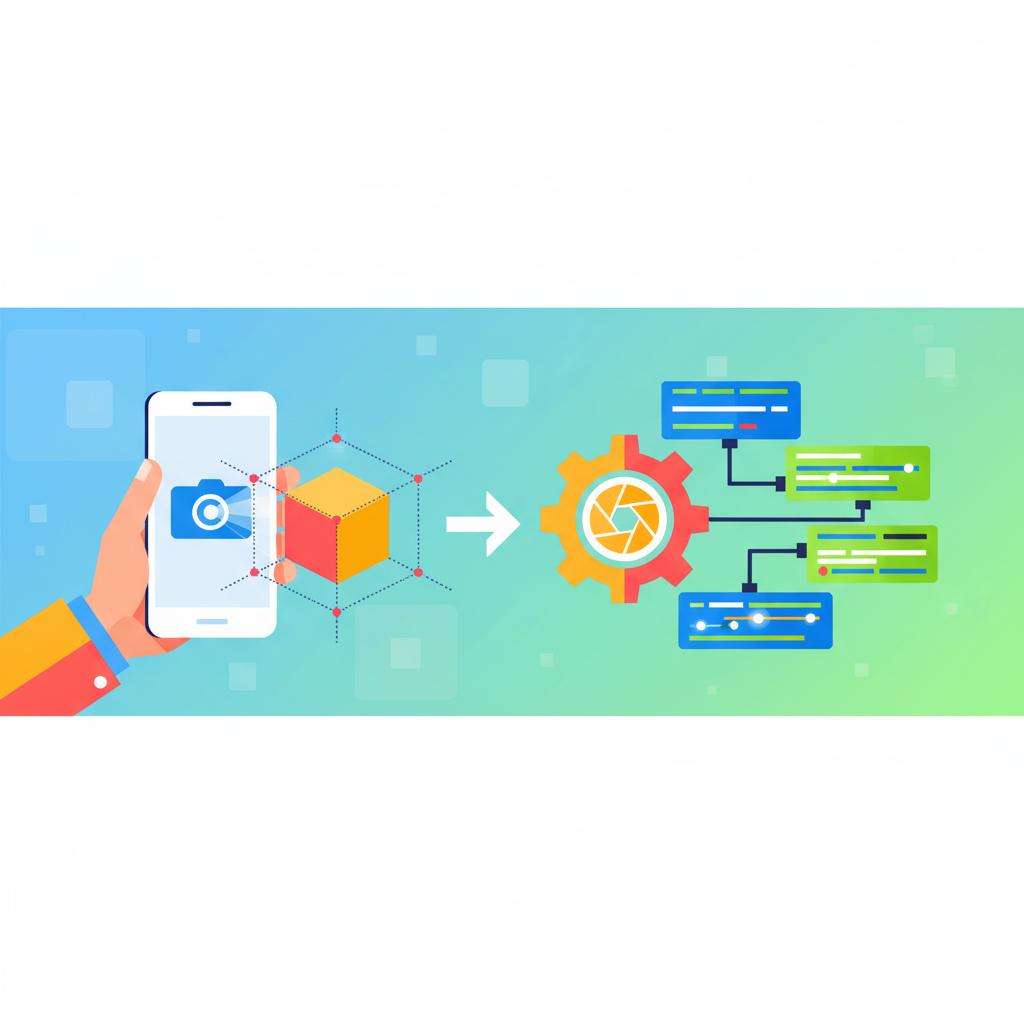
A camera-based measuring tool sounds simple: point a phone at an object, scan it, and display its width and height. Building one reveals a less obvious problem: a camera records pixels, not centimeters. React can organize the interface, but something else must establish the relationship between the photograph and the physical world.
This tutorial uses tools and capabilities available in 2019; package APIs, setup instructions, and operating-system interfaces may have changed since then.
The practical starting point is a React Native app that photographs an object beside a reference of known size. The user marks the relevant endpoints, and the app converts pixel distances into approximate physical dimensions. It is a guided measurement workflow rather than automatic object recognition, but it provides a useful foundation for both.
What the Native Camera Can, and Cannot, Do
React is a library for building interfaces. React Native uses React to build mobile applications that can access iOS and Android features through native components and modules.
A library such as react-native-camera gives a React Native app access to camera previews and photographs. It does not provide an RNCamera function that measures a real object's dimensions.
React Native's own measure() methods report the layout of interface elements. They do not measure the physical objects visible inside a camera preview.
To recover real-world dimensions, your app needs additional information:
- A known-size reference: Compare the object with a ruler or calibration marker in the same plane.
- A calibrated geometric setup: Use known camera properties and suitable distance or scene constraints.
- An augmented-reality session: Use ARKit or ARCore to estimate positions in a tracked environment, then measure between selected points.
GPS is not suitable for measuring nearby small objects. Accelerometer data alone also cannot supply their dimensions. AR systems combine camera observations and motion sensors through a much more substantial tracking pipeline.
Choose a Measurable First Use Case
For this tutorial, measure a flat rectangular object lying on a table. Put a reference segment of known length beside it, keep both at the same height, and photograph them from directly above.
The user will select six points:
- Two endpoints of the reference segment.
- Two endpoints spanning the object's width.
- Two endpoints spanning the object's height.
This approach assumes that the camera is approximately perpendicular to the measurement plane. It estimates two visible dimensions, not thickness, volume, or hidden geometry.
A ruler with clearly visible marks works well. Measure between two known marks rather than assuming that the ruler's outer edges represent an exact length.
Understand the Conversion
If a 100 mm reference spans 250 pixels, the scale is:
millimeters per pixel = 100 / 250 = 0.4

object dimension = object pixel distance × 0.4
An object edge spanning 400 pixels would therefore measure approximately 160 mm.
This calculation is only valid when the reference and measured edges share approximately the same image scale. An elevated object or a strongly tilted camera breaks that assumption.
Build the React Native Measurement Workflow
1. Install and Configure Camera Access
Start with a React Native project and install the camera package:
npm install react-native-camera
Native installation depends on your React Native and package versions. React Native 0.60 introduced autolinking in 2019; earlier projects commonly require manual linking or react-native link. Follow the installation instructions for the exact package version you select, including its Android Gradle and iOS CocoaPods requirements.
For an iOS project using CocoaPods, install the native dependencies after configuration:
cd ios
pod install
Add a meaningful camera usage description to Info.plist:
<key>NSCameraUsageDescription</key>
<string>Use the camera to photograph objects for measurement.</string>
On Android, declare camera access in AndroidManifest.xml:
<uses-permission android:name="android.permission.CAMERA" />
Android versions with runtime permissions also require a permission request before using the camera. Handle denial explicitly and explain how users can enable access later. Request only the permissions your capture workflow actually needs; still-image measurement does not require recording audio.
Test on physical devices. A simulator cannot validate focus, lens distortion, or real camera behavior.
2. Capture a Still Image
A still photograph is easier to annotate consistently than a moving preview. The following component shows the capture portion; its parent should switch to an annotation screen when onCaptured runs.
import React from 'react';
import { Button, View } from 'react-native';
import { RNCamera } from 'react-native-camera';

export default class CaptureScreen extends React.Component {
  state = { busy: false };

  capture = async () => {
    if (!this.camera || this.state.busy) return;
    this.setState({ busy: true });

    try {
      const photo = await this.camera.takePictureAsync({
        quality: 0.9,
        fixOrientation: true
      });
      this.props.onCaptured(photo);
    } catch (error) {
      this.props.onError(error);
    } finally {
      this.setState({ busy: false });
    }
  };

  render() {
    return (
      <View style={{ flex: 1 }}>
        <RNCamera
          ref={camera => { this.camera = camera; }}
          style={{ flex: 1 }}
          type={RNCamera.Constants.Type.back}
          captureAudio={false}
          androidCameraPermissionOptions={{
            title: 'Camera access',
            message: 'Allow camera access to measure objects.',
            buttonPositive: 'Allow',
            buttonNegative: 'Cancel'
          }}
        />
        <Button
          title="Capture"
          disabled={this.state.busy}
          onPress={this.capture}
        />
      </View>
    );
  }
}
Check orientation behavior against your installed camera version. The image displayed for annotation and the dimensions used in calculations must describe the same orientation. Avoid processing options that skip orientation handling unless you handle it yourself.
3. Display the Photograph Without Cropping
Render the captured image with resizeMode="contain" inside a container whose dimensions you record with onLayout. Place a touchable annotation layer over that same container.
A contained image may have empty bands around it. Touch coordinates include those bands, so they cannot simply be treated as source-image coordinates.
Use the displayed image's scale and offsets to translate taps:
export function touchToImage(point, box, image) {
  const scale = Math.min(
    box.width / image.width,
    box.height / image.height
  );
  const left = (box.width - image.width * scale) / 2;
  const top = (box.height - image.height * scale) / 2;

  const x = (point.x - left) / scale;
  const y = (point.y - top) / scale;

  if (x < 0 || y < 0 ||
      x > image.width || y > image.height) {
    return null;
  }

  return { x, y };
}
Here, box contains the annotation container's layout dimensions, and image contains the oriented photograph's pixel dimensions. Feed the function touch coordinates local to that container, such as locationX and locationY from a responder attached to the overlay.
Store accepted points in image coordinates. To draw markers back on screen, apply the inverse transformation: multiply by scale, then add the corresponding offset. This keeps measurements stable if the display size changes.
4. Guide Endpoint Selection
Prompt for one pair at a time: reference first, then width, then height. Draw a numbered marker at each accepted point and a line between each pair.
Useful controls include:
- Undo the most recent point.
- Clear all points and start again.
- Retake a blurred photograph.
- Enter or correct the reference length in millimeters.
Do not let the reference length silently default to an arbitrary value. Require the user to confirm it before showing a result.
For a first version, keep annotation at a fixed scale. If you add zooming and panning, include those transformations in touch mapping. A magnified selection view can improve endpoint placement, but it must not change the stored source-image coordinates.
5. Calculate Width and Height
Use Euclidean distance so that selected edges do not need to align exactly with the image axes:
const distance = (a, b) =>
  Math.hypot(b.x - a.x, b.y - a.y);

export function calculateDimensions(points, referenceMm) {
  if (points.length !== 6 ||
      !Number.isFinite(referenceMm) || referenceMm <= 0) {
    throw new Error('Provide six points and a positive reference length.');
  }

  if (!points.every(p =>
    Number.isFinite(p.x) && Number.isFinite(p.y))) {
    throw new Error('Invalid point coordinates.');
  }

  const referencePx = distance(points[0], points[1]);
  const widthPx = distance(points[2], points[3]);
  const heightPx = distance(points[4], points[5]);

  if (referencePx === 0 || widthPx === 0 || heightPx === 0) {
    throw new Error('Each endpoint pair must be distinct.');
  }

  const mmPerPixel = referenceMm / referencePx;
  return {
    widthMm: widthPx * mmPerPixel,
    heightMm: heightPx * mmPerPixel
  };
}
Label the output as an estimate. Displaying many decimal places does not make endpoint selection or camera geometry more accurate. Choose rounding based on validation results, not the precision of JavaScript arithmetic.
Common Pitfalls and Practical Improvements
Perspective and Height Differences
A tilted photograph makes scale vary across the image. Keep the phone parallel to the table and place the reference near the object. A reference on the tabletop cannot reliably calibrate the top face of a thick box.
For more demanding planar measurements, detect four corners of a known rectangle and compute a perspective transformation into plane coordinates. This requires an image-processing pipeline, often implemented in native code using a library such as OpenCV. One known segment alone is insufficient to correct general perspective distortion.
Blur, Reflections, and Lens Distortion
Use even lighting and wait for focus before capturing. Avoid reflective surfaces where highlights hide edges. Keep the measurement area away from extreme image edges, where lens distortion can be more noticeable.
A longer reference segment generally reduces the relative effect of endpoint-placement errors. It should still fit clearly in the same measurement plane as the object.
Confusing Detection with Measurement
Automatically detecting a rectangle only identifies image coordinates. It does not establish physical scale. Edge detection, segmentation, or a trained object detector can replace manual selection, but the calibration problem remains.
When ARKit or ARCore Is the Better Choice
If users need to measure furniture or distances across a room without placing a reference, investigate ARKit on iOS or ARCore on Android.
In a 2019 implementation, this requires native integration or a compatible React Native wrapper. The app runs an AR session, lets users select locations through hit testing, obtains world-space positions, and calculates their three-dimensional distance.
Plane detection does not automatically identify every object surface or boundary. Device support, tracking quality, lighting, and surface texture affect results. Provide tracking feedback and test on supported hardware rather than assuming ordinary camera access enables AR measurement.
Validate Before Shipping
Test against independently measured objects at several positions, distances, and lighting conditions. Repeat selections to distinguish user-placement variation from systematic geometric errors.
Check permission denial, interrupted capture, portrait and landscape orientation, and taps in image margins. Unit-test the calculation too: a 250-pixel reference representing 100 mm should convert a 400-pixel edge to 160 mm.
Avoid promising suitability for manufacturing, medical, or other precision-critical decisions without appropriate validation.
Takeaway
React Native can provide camera access and an effective measurement interface, but physical dimensions require calibration or spatial tracking. Start with a known reference, a flat scene, and carefully mapped endpoint selections. Validate that foundation before adding automatic detection or moving to AR-based measurement.
Conversation (0)
No comments yet. Start the conversation.
Join the conversation
Create a free member account to comment.