Using Cinema 4D & Redshift Render Plugin To Create 3D Environments
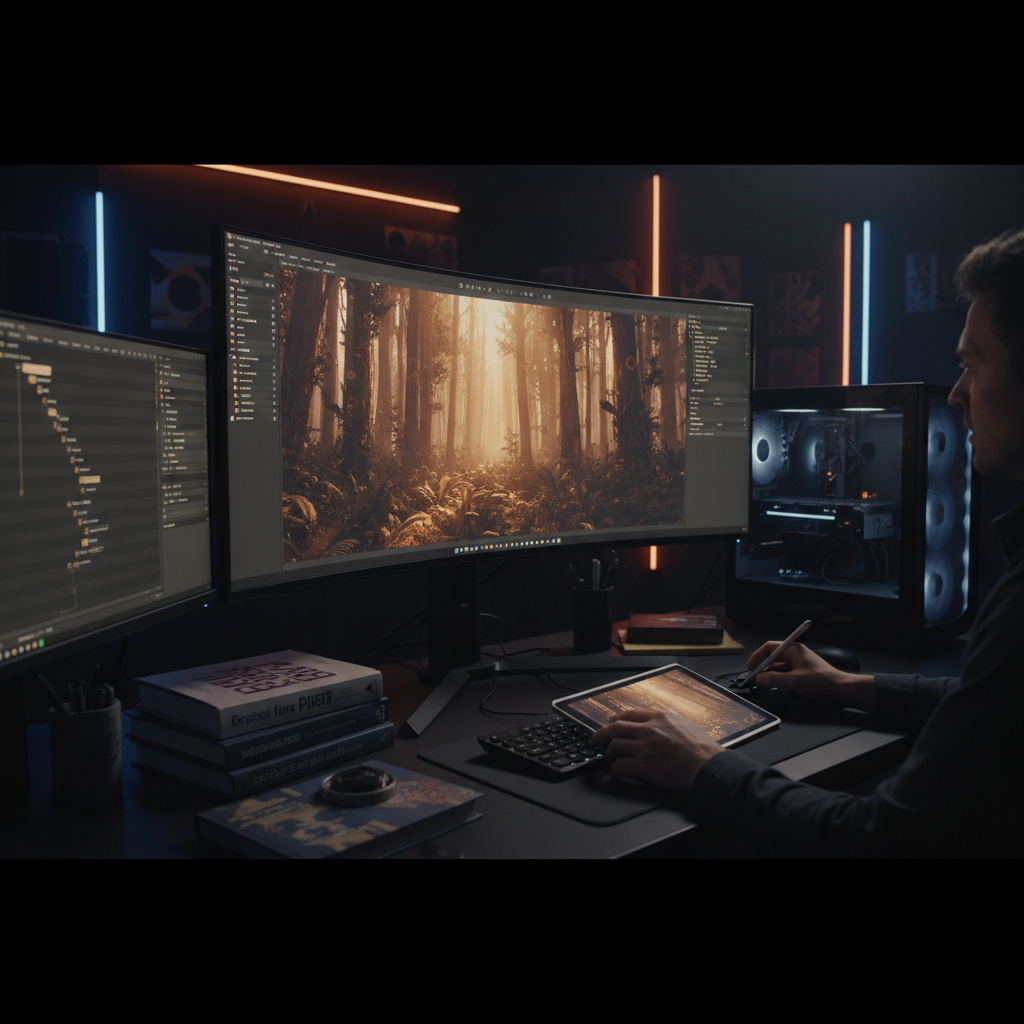
A convincing 3D environment starts working before you notice its details. A strip of light pulls your eye toward a doorway. Reflections suggest damp concrete. Repeated columns make a small set feel like a much larger building. Modeling supplies the objects, but composition, materials, and lighting turn those objects into a place.
Cinema 4D and Redshift make a useful pairing for this work: Cinema 4D handles scene construction and animation, while Redshift provides GPU-accelerated rendering with interactive feedback. That combination is particularly helpful for music visuals, architectural studies, and atmospheric motion-design scenes, where you need to explore a look without rebuilding everything between tests.
This workflow is written for Cinema 4D and Redshift as used in 2019; tools, interfaces, and hardware support may have changed since then.
The following walkthrough builds a small industrial courtyard with concrete walls, a wet floor, and a brightly lit doorway. The same process applies to interiors, abstract stages, and larger outdoor environments.
What Cinema 4D and Redshift Each Contribute
Cinema 4D is your scene-building workspace. Its modeling tools, deformers, MoGraph features, cameras, and object hierarchy let you construct and organize an environment, whether you model everything yourself or incorporate purchased assets.
Redshift replaces Cinema 4D’s native renderer for this project. It is a biased renderer, meaning it offers practical controls and approximations that help balance image quality against rendering cost. Its interactive preview makes it easier to judge lighting and materials while you work.
Neither application automatically creates realism. Accurate scale, believable surfaces, and intentional lighting still matter more than a high polygon count.
Check Your 2019 Setup First
For this period, plan around a supported NVIDIA CUDA GPU, a compatible driver, and matching Cinema 4D and Redshift plugin versions. Do not assume that any graphics card capable of running Cinema 4D can also render with Redshift.
GPU memory also matters. Redshift can move certain resources out of core into system memory, but that is not a substitute for careful scene budgeting and can reduce performance.
Before building the courtyard, render a cube and plane with a Redshift light and material. This confirms that the plugin loads, the GPU is recognized, and the renderer works independently of a complex scene.
Build the Environment in Nine Steps
1. Define the Shot Before Building the Set
Start with a small reference board covering architecture, surface wear, lighting, and color. Separate references for physical construction from references for mood: a dramatic photograph may provide excellent lighting inspiration without clearly showing how its building is assembled.
For the courtyard, establish a simple brief:
- A low camera looks across a damp concrete floor.
- Large, dark walls frame a warm doorway.
- Pipes and structural supports provide scale.
- A cool sky contrasts with the doorway light.
Decide whether the deliverable is a still or an animation. A still only needs to hold up from one viewpoint; a camera move exposes missing geometry, stretched textures, and repeated props.
Choose an output aspect ratio now. A widescreen music visual and a square cover image need different compositions, even when they use the same environment.
2. Block Out the Scene at Believable Scale
Build the first version with cubes and planes. Add the floor, two side walls, a back wall, and a doorway. Use a human-scale reference object to judge dimensions, then hide it from the final render.
Work at a consistent scene scale. Scale affects texture size, light placement, depth of field, and the apparent thickness of atmosphere. A doorway should feel appropriately sized relative to its surrounding architecture, not merely look convenient in the viewport.
Keep this stage deliberately plain. Use neutral materials and concentrate on silhouettes, overlap, and negative space.
Practical tip: Give objects descriptive names immediately. Wall_Back, Door_Frame, and Pipe_Module are easier to manage than dozens of numbered cubes.
Group the scene by function: architecture, props, lights, cameras, and atmosphere. Organization becomes especially valuable when you need to disable expensive elements for test renders.
3. Establish the Camera and Composition
Add a Cinema 4D camera and compose through it before refining the geometry. Try a moderate focal length first, then adjust it deliberately. A very wide lens can make a small environment feel expansive, but it also exaggerates perspective and may distract from the intended focal point.
Place the doorway away from the exact center unless symmetry is part of the concept. Use floor seams, pipes, or wall edges to guide the eye toward it.
Build depth in three layers:
- A foreground element, such as a partial column or pipe.
- A middle ground containing the doorway and main action.
- A background or upper opening that suggests space beyond the set.
Once the composition works, protect the camera from accidental movement. Model primarily for what the camera sees, while allowing extra coverage for reflections, shadows, and any planned motion.
4. Replace the Blockout with Modular Geometry
Refine the largest visible forms first. Turn a plain doorway into a frame with thickness, add structural divisions to walls, and break the floor into plausible sections.
Use small bevels on important hard edges. Perfectly sharp computer-generated corners do not catch highlights like manufactured or weathered edges. Keep bevel widths proportional to the object rather than applying the same value everywhere.
Build repeatable modules for pipes, panels, and supports. Instances can reduce duplication and simplify revisions. Check how your installed Redshift version handles Cinema 4D’s instancing options before committing to a large repeated system.
Imported assets are useful, but inspect them for:
- Incorrect scale or orientation.
- Missing textures and incompatible materials.
- Reversed normals or overlapping faces.
- Excessive subdivisions in areas that will never be visible.
More intricate geometry does not necessarily produce a stronger image. Spend detail where it affects the silhouette, reflections, or focal area.
5. Create Redshift Materials with Clear Surface Roles
Use Redshift materials rather than assuming every native Cinema 4D shader will translate correctly. For a typical 2019 workflow, build around the Redshift Material shader and its diffuse, reflection, bump, and related controls.
Start with three surfaces: concrete, painted metal, and wet flooring. Make each read correctly under simple lighting before adding complexity.
For concrete, combine a restrained diffuse texture with broad roughness variation and fine bump detail. For painted metal, remember that intact paint behaves as a dielectric surface; exposed metal requires a different reflection treatment. Avoid making every industrial object uniformly metallic.
For the wet floor, reduce roughness selectively rather than turning the entire surface into a mirror. Use a mask to distinguish damp areas from drier concrete. If standing water is visible close to the camera, separate puddle geometry may give you more control.
Texture Mapping and Color Handling
Check texture scale against recognizable objects. Concrete grain that looks plausible in isolation may become oversized beside a doorway.
Use UV mapping when precise placement matters. Redshift’s triplanar mapping can be useful for large architectural surfaces, but inspect corners and directional patterns for blending artifacts.
Treat color textures and data textures differently. Base-color images commonly need sRGB decoding, while roughness, displacement, masks, and normal maps generally need raw or linear interpretation. Confirm the relevant gamma settings in your installed version.
Route normal maps through the appropriate normal-map handling rather than treating their RGB values as ordinary bump height. Reserve displacement for detail that needs actual surface relief; it can significantly increase geometry and memory use.
6. Light the Scene One Contribution at a Time
Set Redshift as the active renderer and open its interactive preview. Begin at a modest resolution so changes remain responsive.
For the courtyard, use a Redshift Dome Light with an appropriate HDR image to establish ambient illumination and reflections. Rotate it until its broad lighting direction supports the composition. An HDR image is a starting point, not a complete lighting design.
Next, place a warm Redshift Area Light in or behind the doorway. Its size controls shadow softness and affects reflections. Keep the illumination consistent with the visible opening rather than using an unexplained light simply to brighten the floor.
Add fill only where necessary. If every wall is equally visible, the scene may lose depth and mood.
Enable global illumination for bounced light. Redshift’s Brute Force and Irradiance Point Cloud options provide different speed and quality tradeoffs; Brute Force as the primary engine with an Irradiance Point Cloud secondary engine is a useful setup to test for a still. Check temporal stability separately for animation.
An emissive doorway surface can sell the appearance of brightness, but a dedicated light usually gives more predictable illumination and sampling control.
7. Add Atmosphere and Small-Scale Storytelling
Once the image works without effects, introduce a restrained amount of volumetric atmosphere if the shot needs it. Redshift volume scattering can help reveal light beams and separate depth layers, but dense fog can flatten contrast and add noise.
Then add a few environmental clues: a drain, repaired concrete, a cable run, or stains beneath a pipe. Place wear where it has a physical explanation.
Avoid scattering dirt uniformly across every material. Water collects in low areas, contact points accumulate grime, and exposed edges wear differently from sheltered surfaces. A handful of deliberate details often feels more convincing than a blanket procedural noise texture.
For music visuals, motion can come from a slow camera move or a controlled lighting change. You do not need to animate every object to create energy.
8. Diagnose Noise Before Increasing Quality
Render a small test and inspect it at its actual pixel size. Identify whether noise appears in soft shadows, glossy reflections, indirect lighting, or volumes.
Redshift’s unified sampling controls overall image convergence, while individual effects also have sampling controls. Increase the settings associated with the visible problem rather than raising everything at once. Lower adaptive error thresholds generally demand cleaner results and more rendering work.
Use this testing sequence:
- Render a representative crop with current settings.
- Change one relevant control.
- Compare noise, detail, and render time.
- Keep the change only if it improves the tradeoff.
Disable motion blur, depth of field, and volumes while isolating unrelated problems. Restore them before final quality checks because each can change the sampling requirements.
Denoising can help, but inspect fine textures and highlights for smearing. For animation, render several consecutive frames: an attractive still does not guarantee stable noise or flicker-free results.
9. Render, Composite, and Package the Project
Confirm the final camera, resolution, frame range, and output location. Save a versioned scene before starting the final render.
For animation, render an image sequence rather than directly to a compressed movie. A failed frame can then be rerendered without restarting the entire output. OpenEXR is useful when you need scene-linear images, HDR values, and compositing flexibility.
Add only the AOVs you expect to use, such as reflection, emission, or depth. Test their interpretation in your compositor, especially depth ranges and transparency handling.
Keep compositing restrained: refine contrast and color without trying to rescue fundamentally incorrect lighting. Collect external assets with the project, and verify texture paths before moving it to another workstation.
Common Pitfalls to Avoid
- Detailing before composing: Finish the camera and large forms before modeling tiny fixtures.
- Using roughness to hide bad lighting: Test surfaces under a simple, readable light setup first.
- Overspending GPU memory: Match texture resolution and geometry density to their on-screen importance.
- Adding effects too early: Fog, bloom, and depth of field should support a working image, not conceal a weak one.
- Trusting a single preview: Check final-resolution crops and animated frame ranges before committing to delivery.
Takeaway
Cinema 4D and Redshift are most effective when used in a deliberate sequence: establish the shot, build at consistent scale, refine visible geometry, create readable materials, and light with purpose. Interactive rendering shortens the feedback loop, but the real improvement comes from changing one thing at a time and judging it against a clear visual goal.
Conversation (0)
No comments yet. Start the conversation.
Join the conversation
Create a free member account to comment.