Wordpress Part 1: How To Create A Page
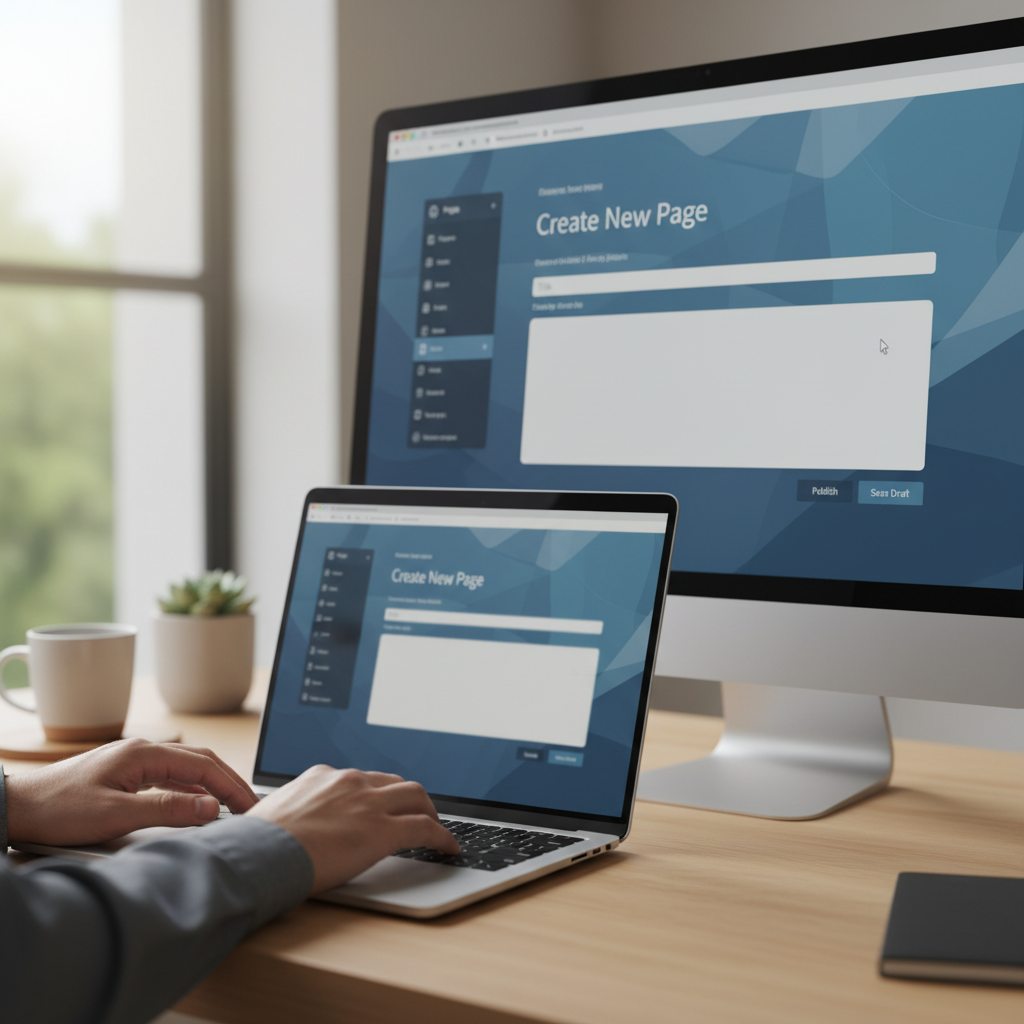
Creating a page in WordPress is straightforward. Creating one that looks right, appears in your navigation, and works well on a phone takes a few extra steps. This walkthrough covers the complete process, from opening a blank page to publishing and checking the finished result.
We’ll start with WordPress’s built-in editor, then explain how to use Elementor, including how to insert a saved template through the sometimes-hard-to-spot folder icon. You can use either editing approach; you don’t need to build the same page twice.
This guide reflects WordPress and Elementor workflows available in 2020; tools and interfaces may have changed since then.
Before You Start
You’ll need access to your WordPress dashboard and an account with permission to create pages. An Administrator or Editor account normally has the necessary permissions. If you cannot see Pages in the dashboard, ask your site administrator to check your access.
Have a few basics ready:
- A working page title, such as “About Us” or “Our Services.”
- The main text you want visitors to read.
- Any images you have permission to use.
- A clear next action, such as contacting you or viewing your work.
If you plan to follow the Elementor instructions, the Elementor plugin must already be installed and activated. On an existing website, check with the site owner before adding plugins or changing theme settings.
Should This Be a Page or a Post?
Use a page for relatively permanent information: About, Contact, Services, or a landing page. Pages can have parent-child relationships and are not normally organized using post categories and tags.
Use a post for dated updates, news, or articles that belong in a blog feed. For this tutorial, we’re creating a page.
1. Create a New Page in WordPress
Sign in to your dashboard, usually through an address such as https://example.com/wp-admin/.
In the left-hand menu, select Pages → Add New. Enter your page title in the title field.
Choose a title that describes the page clearly. “Website Maintenance” gives visitors more information than “What We Do,” although the right wording depends on your site’s navigation and audience.
Click Save Draft before you spend time arranging content. A draft lets you work without making the new page publicly available.
Check the Page Address
WordPress uses a URL-friendly version of the title to suggest a permalink. For example:
Page title: Website Maintenance
Page URL: https://example.com/website-maintenance/
Depending on your WordPress version, permalink controls may appear after saving the draft, in the document settings sidebar, or near the title.
Keep the slug short, readable, and descriptive. Avoid changing it after publication unless you also plan a redirect from the old address. Changing a published URL can break links that people have already saved or shared.
2. Choose Your Editing Approach
Most WordPress installations in 2020 use the block editor, sometimes called Gutenberg. Some sites still use the Classic Editor plugin. Other sites rely on a page builder such as Elementor.
Follow the approach already used by your website when possible. It helps keep page layouts consistent and makes future maintenance easier.
- Use the block editor for straightforward text, images, headings, lists, and buttons.
- Use Elementor when the site already uses Elementor layouts or you need to insert an Elementor template.
Avoid switching back and forth between editors to rearrange the same content. Elementor layouts should generally be maintained in Elementor rather than edited as ordinary WordPress blocks.
3. Build the Page with the WordPress Block Editor
If you’re using Elementor instead, skip to Step 4.
Click below the title and begin typing. WordPress creates a paragraph block automatically. To add another type of content, click the plus (+) button and choose a block.
Useful starting blocks include:
- Heading for section titles.
- Paragraph for body copy.
- Image for a photo or illustration.
- List for features or instructions.
- Buttons for a prominent next action.
Give the Content a Clear Structure
Start with a short introduction that explains what the visitor will find. Follow it with a few focused sections, then finish with a relevant action.
For a simple services page, that might be:
- A short explanation of the service.
- What is included.
- How the process works.
- A link to request more information.
Your theme usually displays the page title as the main H1 heading. Use H2 headings for major sections and H3 headings for subsections. Don’t choose heading levels just to make text larger; use typography settings for visual adjustments.
Add Images and Links
Insert an Image block, then upload a file or choose an existing image from the Media Library. Add meaningful alternative text when the image conveys information. A purely decorative image can have empty alt text.
To add a link, select the relevant text and use the link control. Prefer descriptive wording such as “View our maintenance plans” over “Click here.”
Save the draft as you work. WordPress has autosave features, but intentionally saving before leaving the editor is still a good habit.
4. Build the Page with Elementor
From the WordPress page-editing screen, click Edit with Elementor. Elementor opens a visual editing area with a widget panel.
In the 2020 interface, layouts are generally built from sections, columns, and widgets. Sections provide horizontal layout areas, columns divide those areas, and widgets hold content such as text, images, and buttons.
You can start with a blank layout or insert a template.
Insert a Saved Template Using the Folder Icon
In the empty Elementor canvas, look for the grey circle containing a folder icon, usually near the button for adding a new section. Click that folder to open the Elementor Library.
If you’re following a screen recording, the pointer may be difficult to see. The target is the grey folder button inside the page canvas, not a folder in the WordPress dashboard or your computer’s file browser.
Once the library opens:
- Select My Templates to find layouts already saved or imported into the site.
- Locate the template you want to use.
- Click Insert.
- Review any prompts and confirm only the changes you intend to apply.
The library also offers template categories such as Pages and Blocks. Some library items require an Elementor account connection or Elementor Pro. A saved template can also depend on widgets or plugins that are not installed on your site.
If your template is missing, confirm that it was imported into this WordPress installation. A template file saved on your computer does not automatically appear under My Templates.
Replace All Placeholder Content
Click a text element to edit its content in Elementor’s panel. Select an image widget to choose a replacement from the Media Library. Update button labels and destinations.
Work through the entire template, checking for:
- Sample copy and placeholder images.
- Buttons that still link to
#or an unrelated destination. - Contact details that do not belong to your business.
- Duplicate headings or unnecessary sections.
- Forms that require separate setup and testing.
A template supplies a layout, not a finished page. Keep your draft unpublished while you customize it, using Elementor’s save options as appropriate for the page’s current status.
5. Check the Page Layout and Theme Settings
If the page looks unexpectedly narrow or includes an unwanted sidebar, check its page template or layout settings. Available options depend on your theme and plugins.
In Elementor, common choices include:
- Default: Uses the theme’s normal page layout.
- Elementor Full Width: Provides a full-width content area while retaining the theme’s header and footer.
- Elementor Canvas: Removes the theme’s usual header, footer, and sidebar for a blank layout.
Don’t choose Canvas just because it sounds cleaner. It can remove the navigation visitors need to move around your site.
Also check whether both the theme and your Elementor template display a page title. If there are two visible main titles, use the available page or theme controls to hide the unnecessary one, then verify the result in preview.
6. Find and Prepare Suitable Images
If you need stock photography, start with Pixabay. Other resources include:
Check the license and any restrictions for the specific image before using it. Free access does not mean every use is permitted, especially when recognizable people, trademarks, or property appear.
Resize Before Uploading
Avoid uploading a full-resolution camera file for a small content image. Resize it to suit the intended display and compress it before uploading. JPEG is generally suitable for photographs; PNG is useful when transparency is needed.
Use descriptive filenames, such as website-maintenance-team.jpg, and write alt text that explains relevant visual information without stuffing in keywords.
After placing the image, inspect its crop on smaller screens. Text embedded in an image may become unreadable on a phone, so keep important messages in actual page text.
7. Preview and Test Before Publishing
Use Preview in WordPress or Elementor’s preview control to inspect the page outside the editing canvas. Elementor’s responsive controls can help you review tablet and mobile layouts, but check on a real phone when possible.
Before publishing, confirm that:
- Headings and body text are readable.
- Images are not stretched or awkwardly cropped.
- Buttons and text links lead to the correct destinations.
- There is no horizontal scrolling on a narrow screen.
- Contact forms submit successfully and deliver messages.
- The header, footer, and navigation behave as expected.
- No placeholder content remains.
If something looks wrong, fix it in the editor that created the layout. Avoid compensating for layout problems with repeated spaces, empty paragraphs, or unnecessary spacer elements.
8. Publish and Add the Page to Navigation
When you’re ready, click Publish and review any confirmation settings, including visibility and publication date. For an already published page, save later changes with Update.
Publishing does not necessarily add the page to your menu. In a typical 2020 WordPress setup:
- Go to Appearance → Menus.
- Select the menu used by your site.
- Find the new page in the Pages panel.
- Choose Add to Menu.
- Drag it into position and click Save Menu.
Some themes manage navigation through the Customizer. Also, making a page your homepage is a separate task under Settings → Reading; don’t change that setting unless you intend to replace the current homepage.
Finally, open the published URL in a private browser window. If older content appears, check your site’s caching plugin or hosting cache and clear the relevant cache if necessary.
Takeaway
A finished WordPress page needs more than a title and a Publish click. Choose the right editor, organize the content, replace template placeholders, prepare images, and test the public result. If you’re using a saved Elementor layout, remember the grey folder icon: it opens the library where your template workflow begins.
Conversation (0)
No comments yet. Start the conversation.
Join the conversation
Create a free member account to comment.